Get ready to take your amigurumi skills to a whole new level
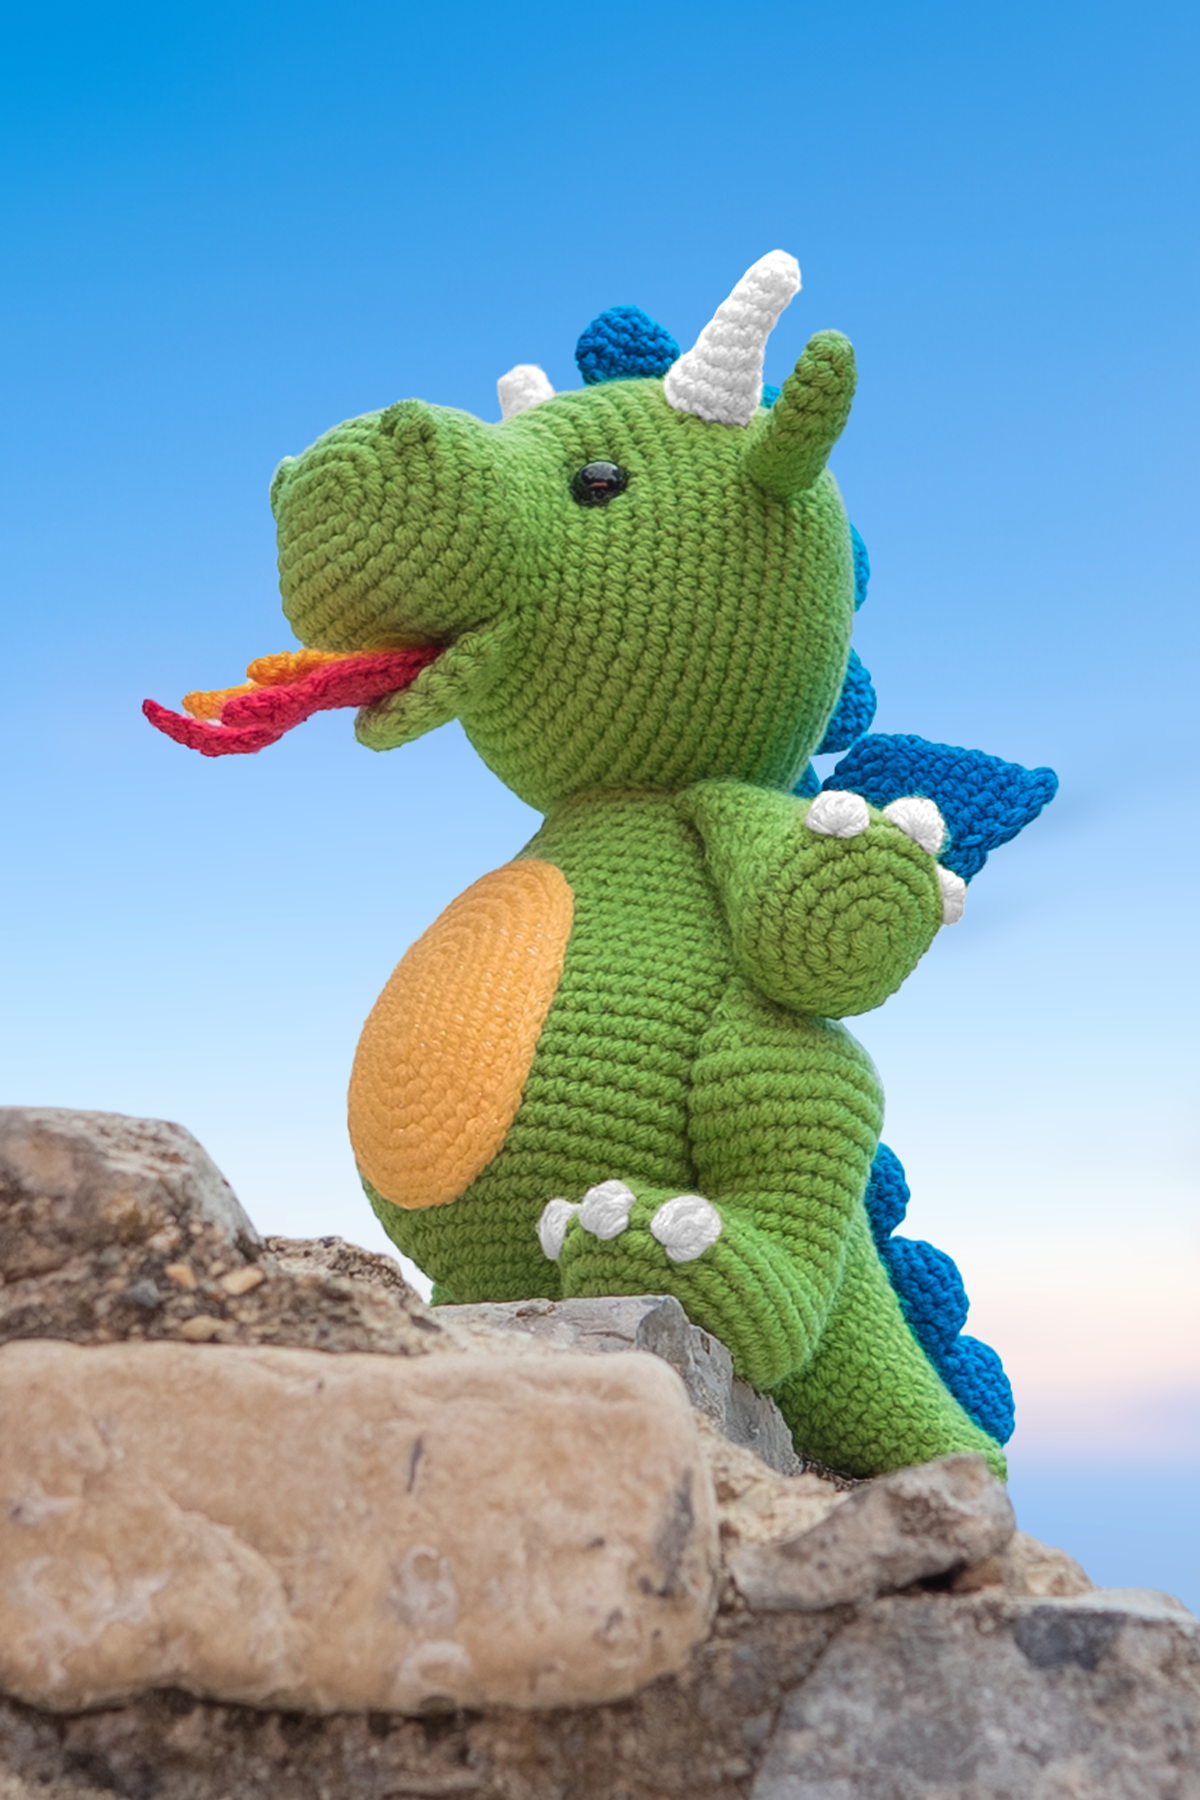
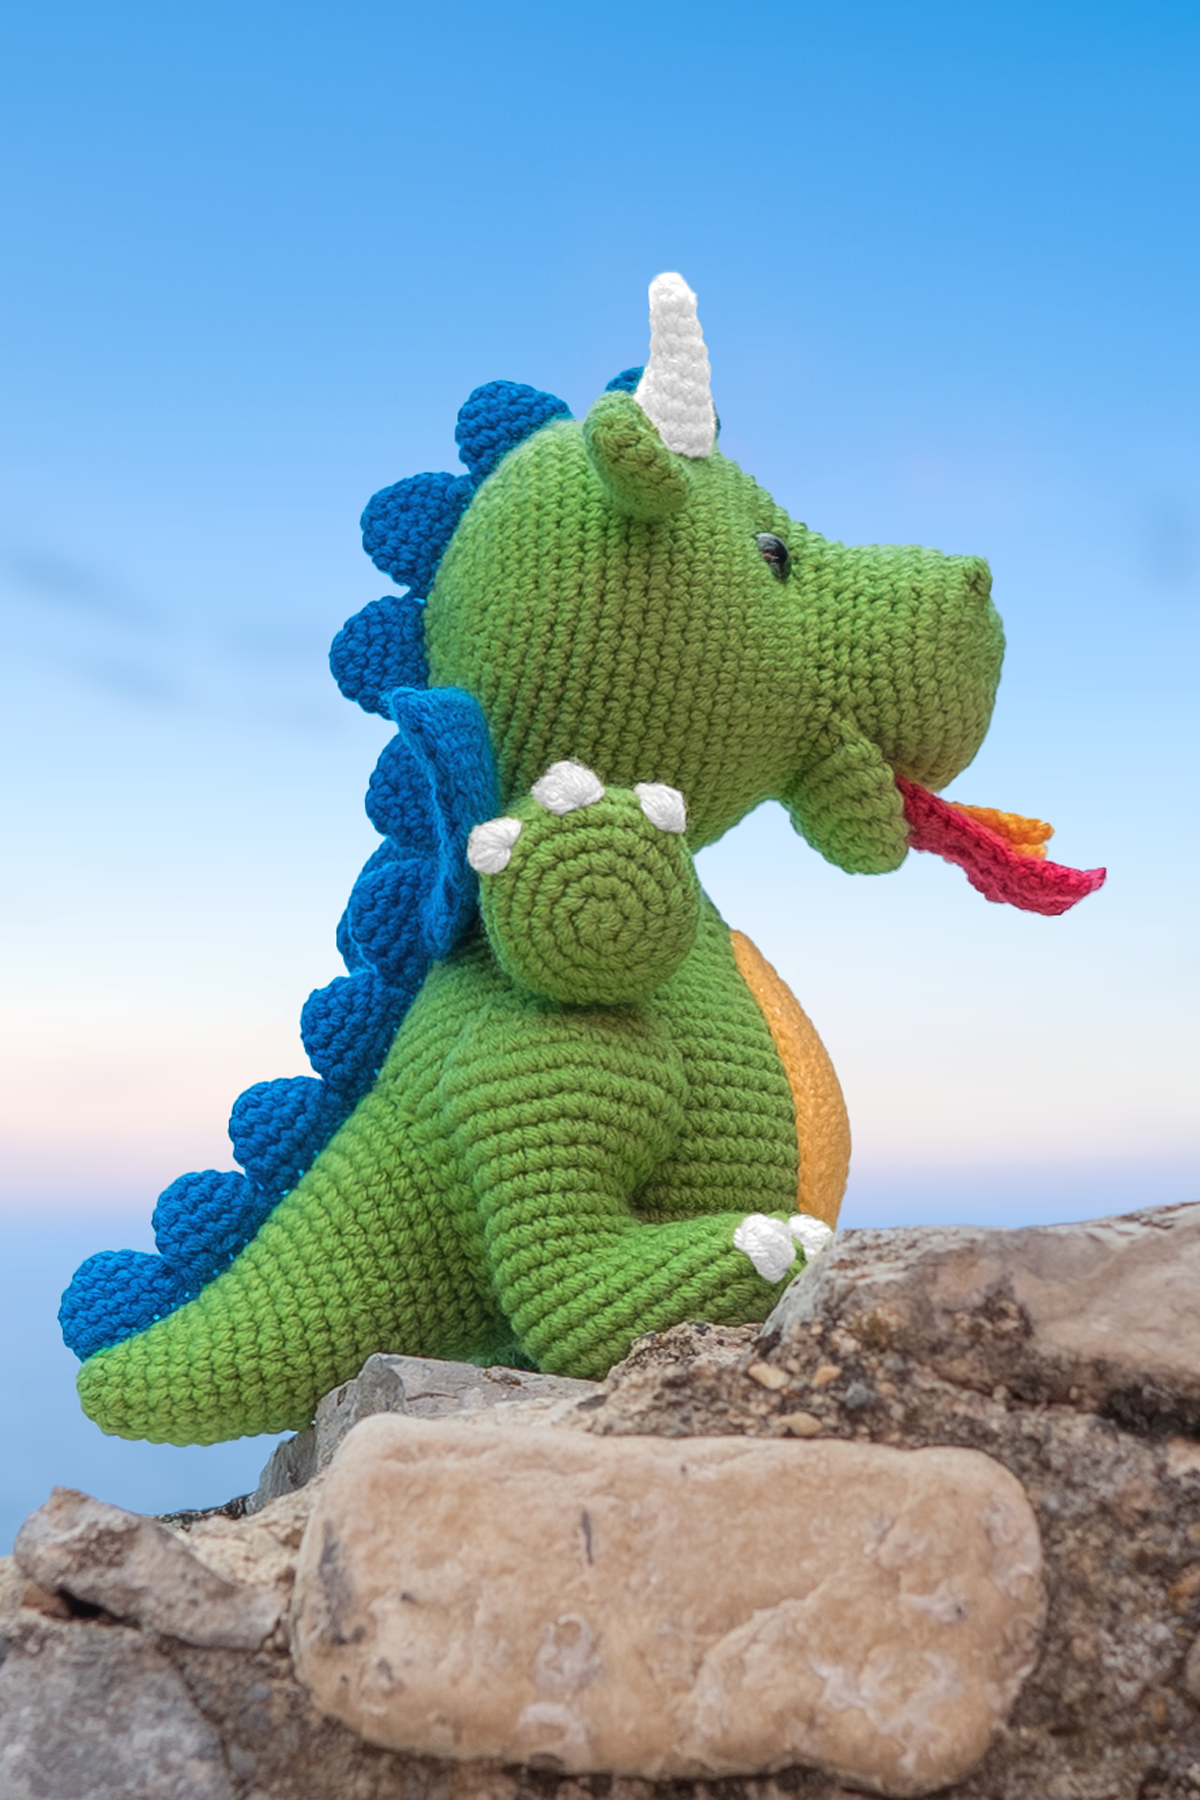
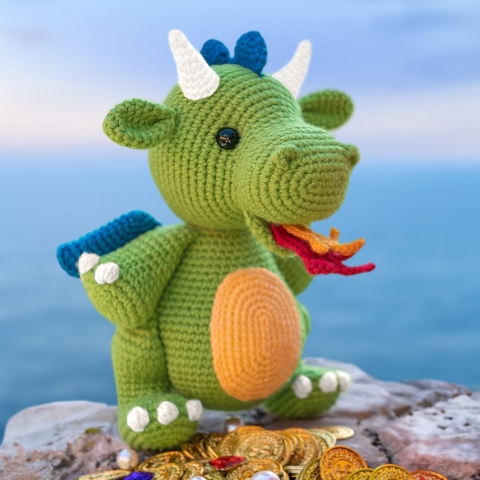
Meet Dante the Dragon, the newest “Huffy” to join my collection of free amigurumi patterns.
This is my most intricate crochet pattern to date. It requires more pieces and assembly than my typical designs, but fear not—the reward is truly legendary. 🔥
I’ll be your sidekick throughout this epic crochet quest
Whether you’re a beginner or a seasoned pro, you’ll be able to expertly craft claws, spikes, and wings with my comprehensive video tutorials.
They will guide you through all the tricky parts of the pattern, ensuring you’ll conquer this dragon with ease.

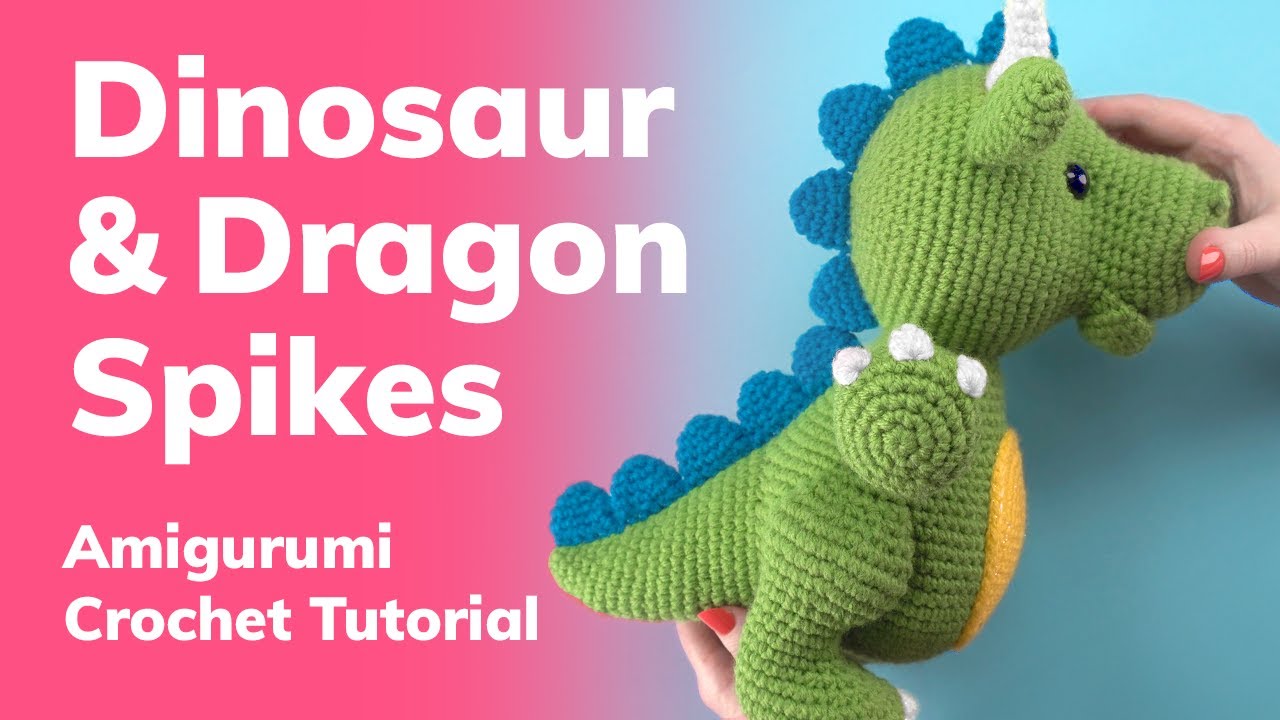
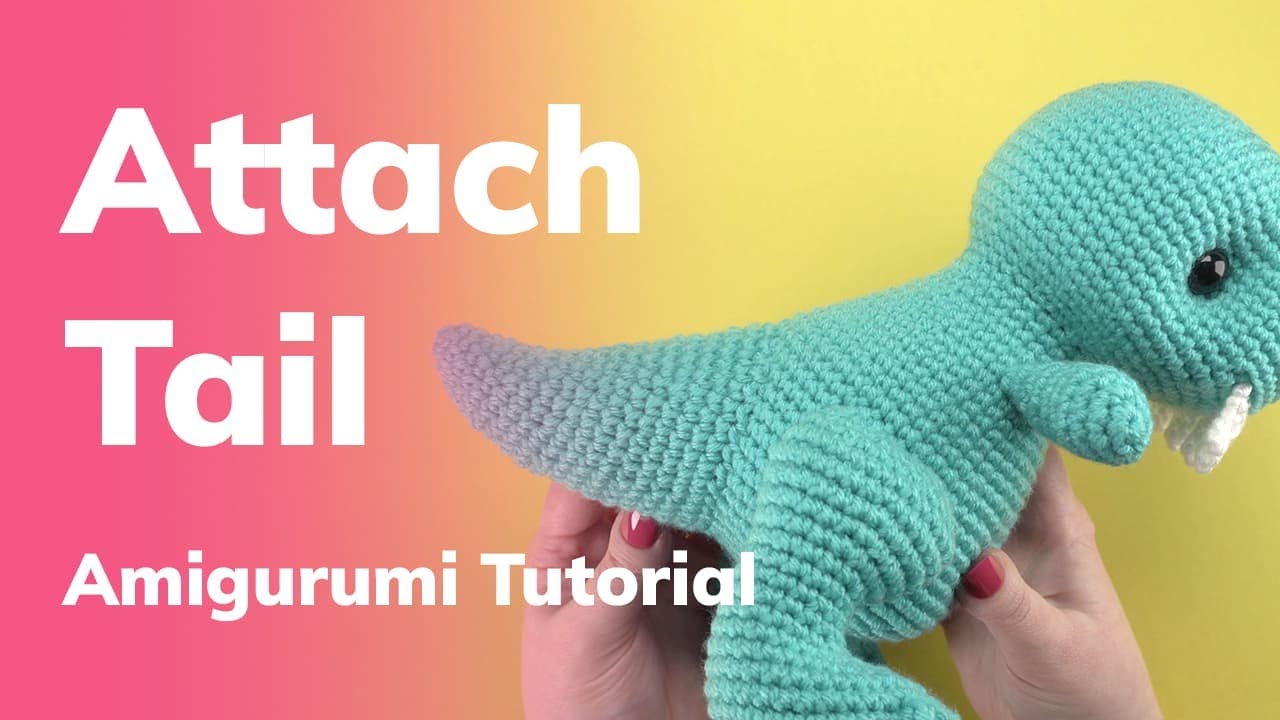
Not into dragons? Use this pattern to make a dinosaur instead!
To transform Dante from a dragon into a dinosaur, simply leave off the flames, bottom lip, wings, ears and horns.
This dragon is a sister (brother?) pattern to Dan the Dinosaur. They work up to be the same height, and use the same legs and tail.
A great challenge awaits you, crocheter. Are you ready to prove your mettle?
Grab your hook, pick out your favorite yarn colors, and let’s embark on this journey together. For even more mythical magic, check out my pattern for Jazzy the Unicorn.
Now venture forth, courageous crafter—we’re entering uncharted territory. Here be dragons! 🐲
Video Tutorials
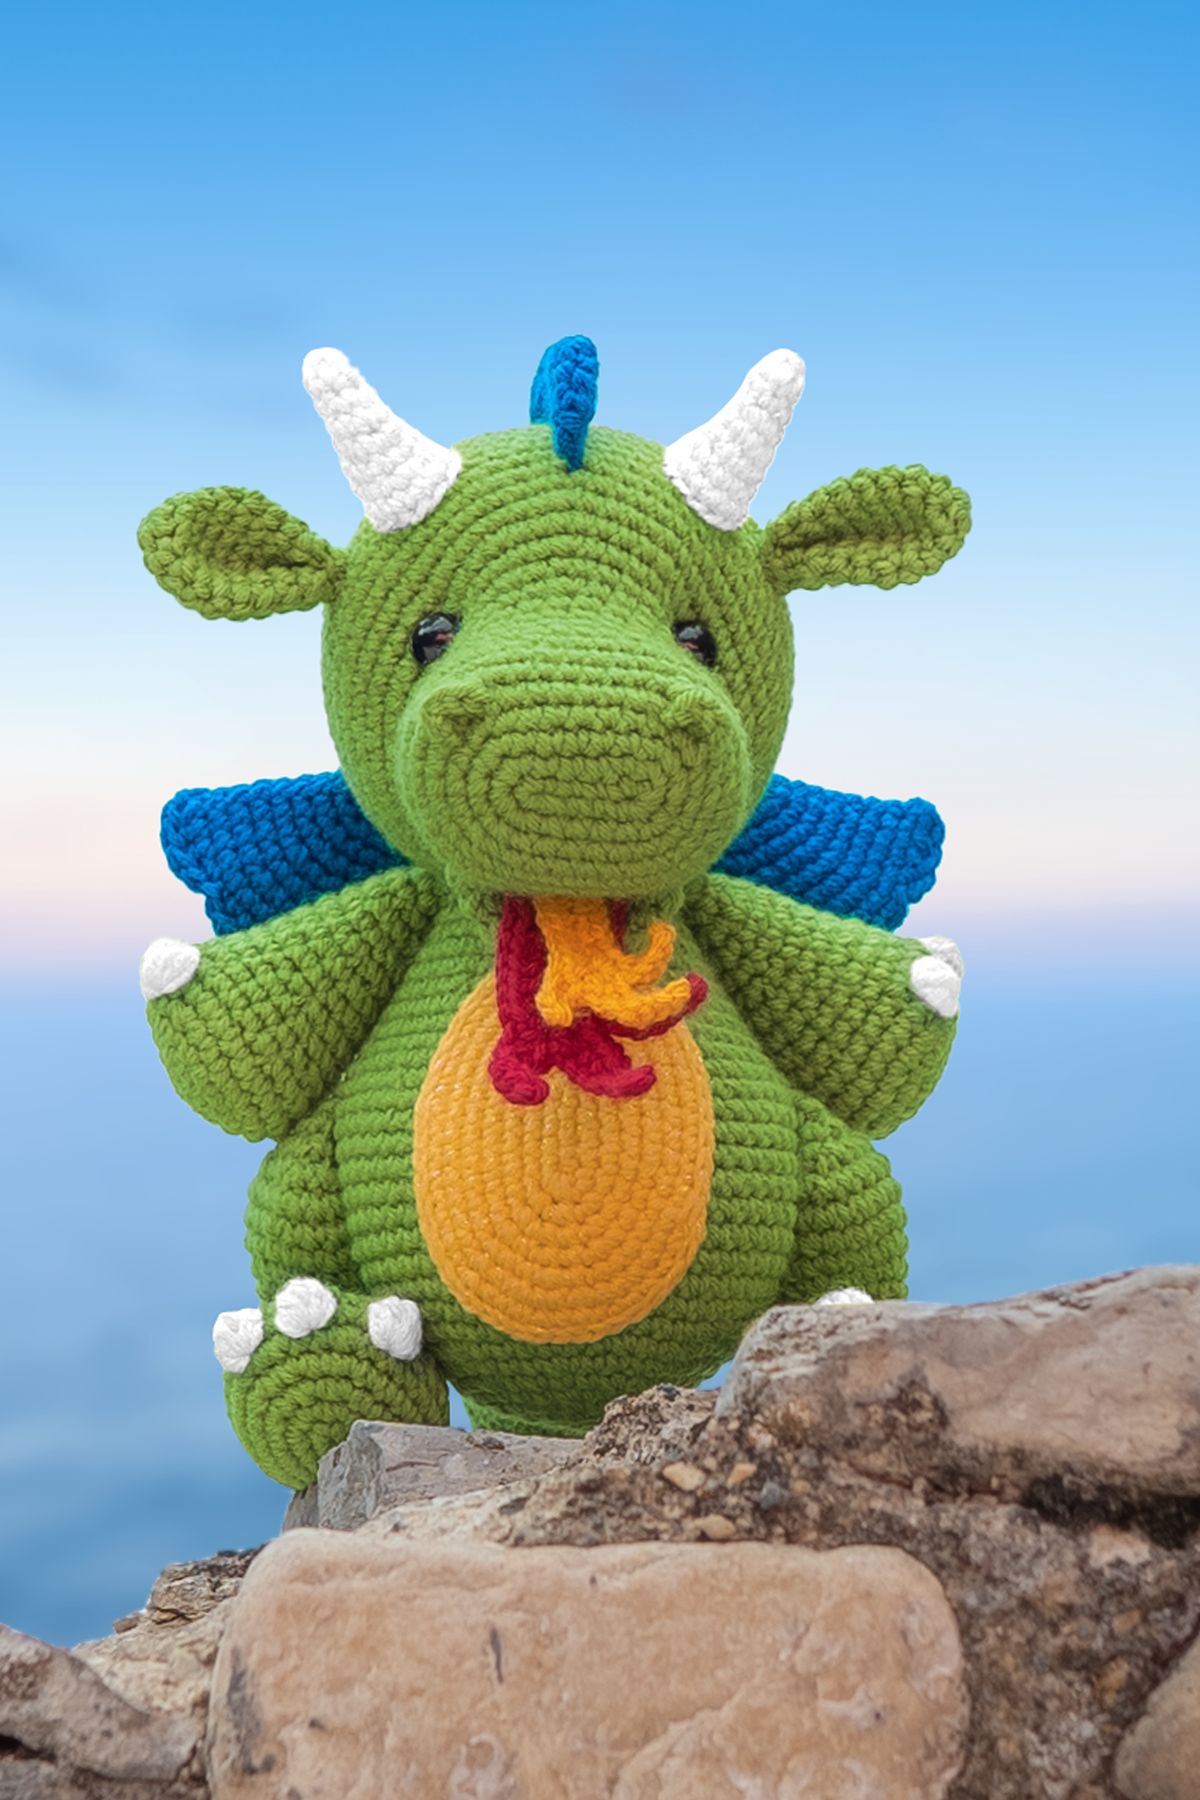
Dante the Dragon
Supplies
Yarn (acrylic, weight 4) – 447 total yards
- Green – 245 yards (Red Heart Super Saver – Spring Green)
- Blue – 174 yards (Maximum Value – Medium Blue)
- Yellow – 11 yards (Red Heart Super Saver – Saffron)
- White – 11 yards (Mary Maxim Starlette – White)
- Orange (optional) – 2 yards (Premier Basix – Goldenrod)
- Red (optional) – 4 yards (Mary Maxim Starlette – Cardinal)
Notes
Abbreviations
- ch – chain
- slst – slip stitch
- sc – single crochet
- hdc – half double crochet
- dc – double crochet
- Bobble – 5 incomplete double crochets worked in the same st, then yarn over and pull through all 6 loops on your hook.
- inc – complete two single crochets within the same stitch
- dec – combine two stitches into one with an invisible decrease
- *sc x* – repeat the instructions between asterisks(*) the indicated number of times.
- (sc x) – attach a body part while completing the stitches inside parentheses as instructed by the pattern.
General Instructions
- This pattern is worked in one continuous spiral.
- Use a stitch marker to keep track of where one round ends and the next begins. I prefer to place my stitch marker in the last stitch of the round.
Recommended Sequence Here are the steps to create your dragon, in order:
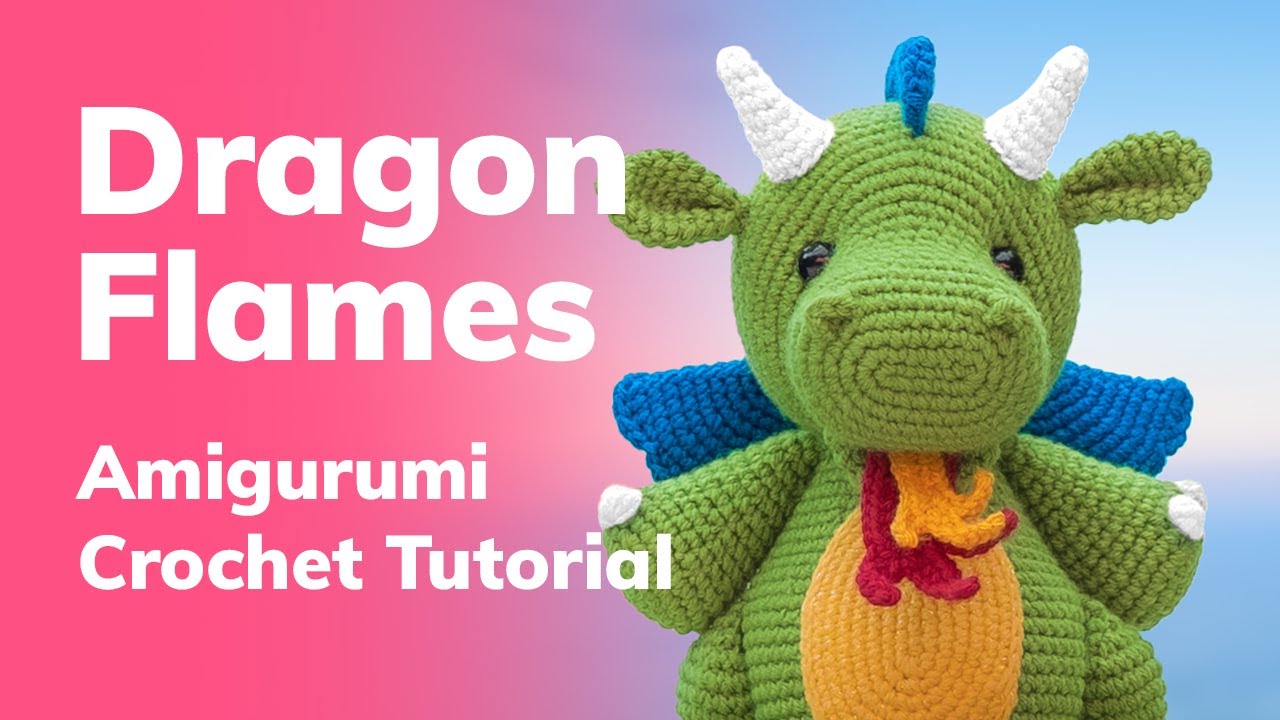
- Crochet the flames (optional)
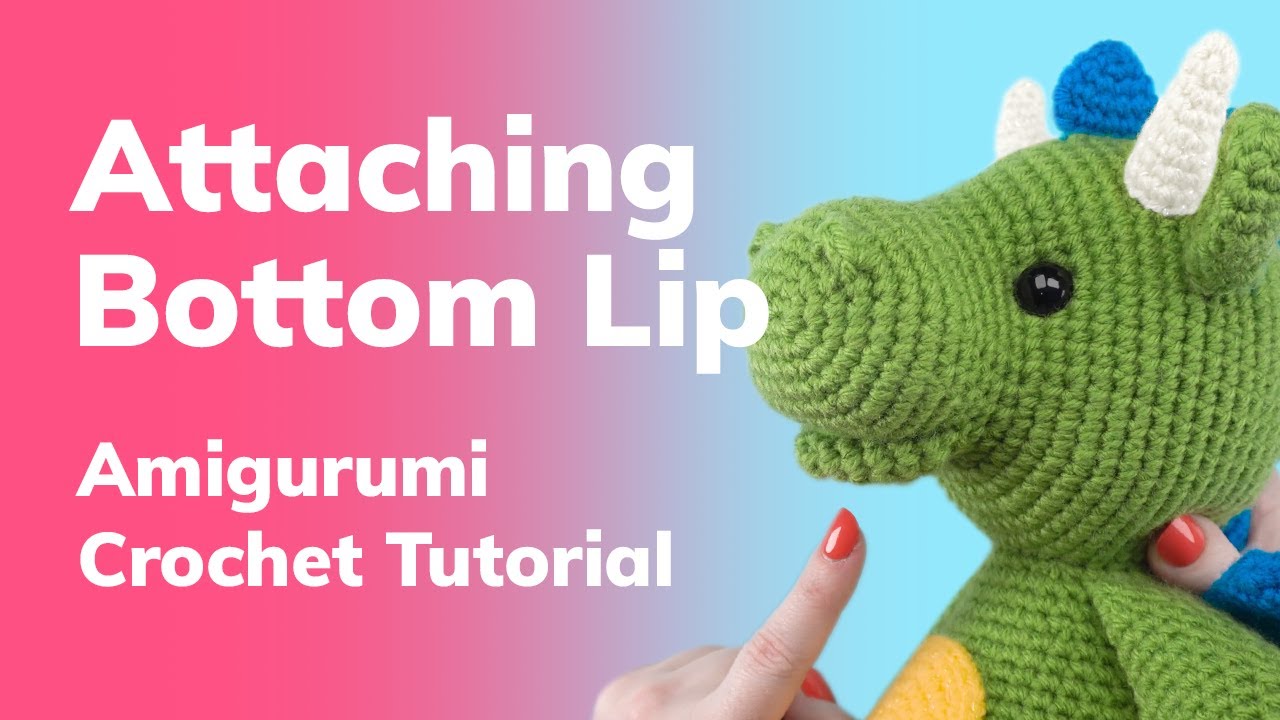
- Crochet the bottom lip (optional)
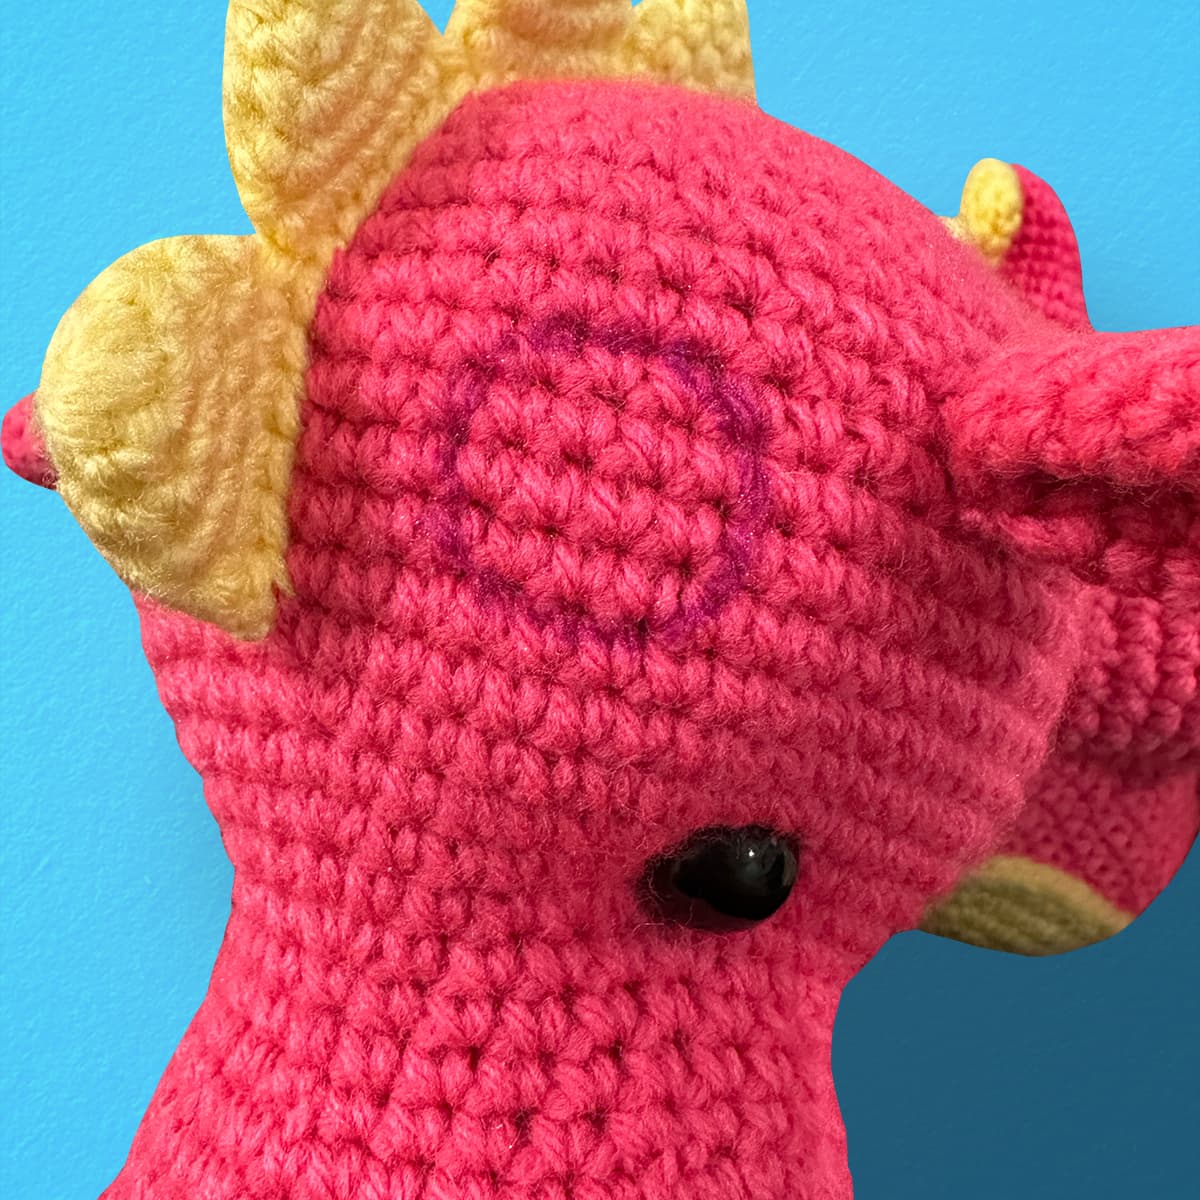
- Crochet the ears
- Crochet the head
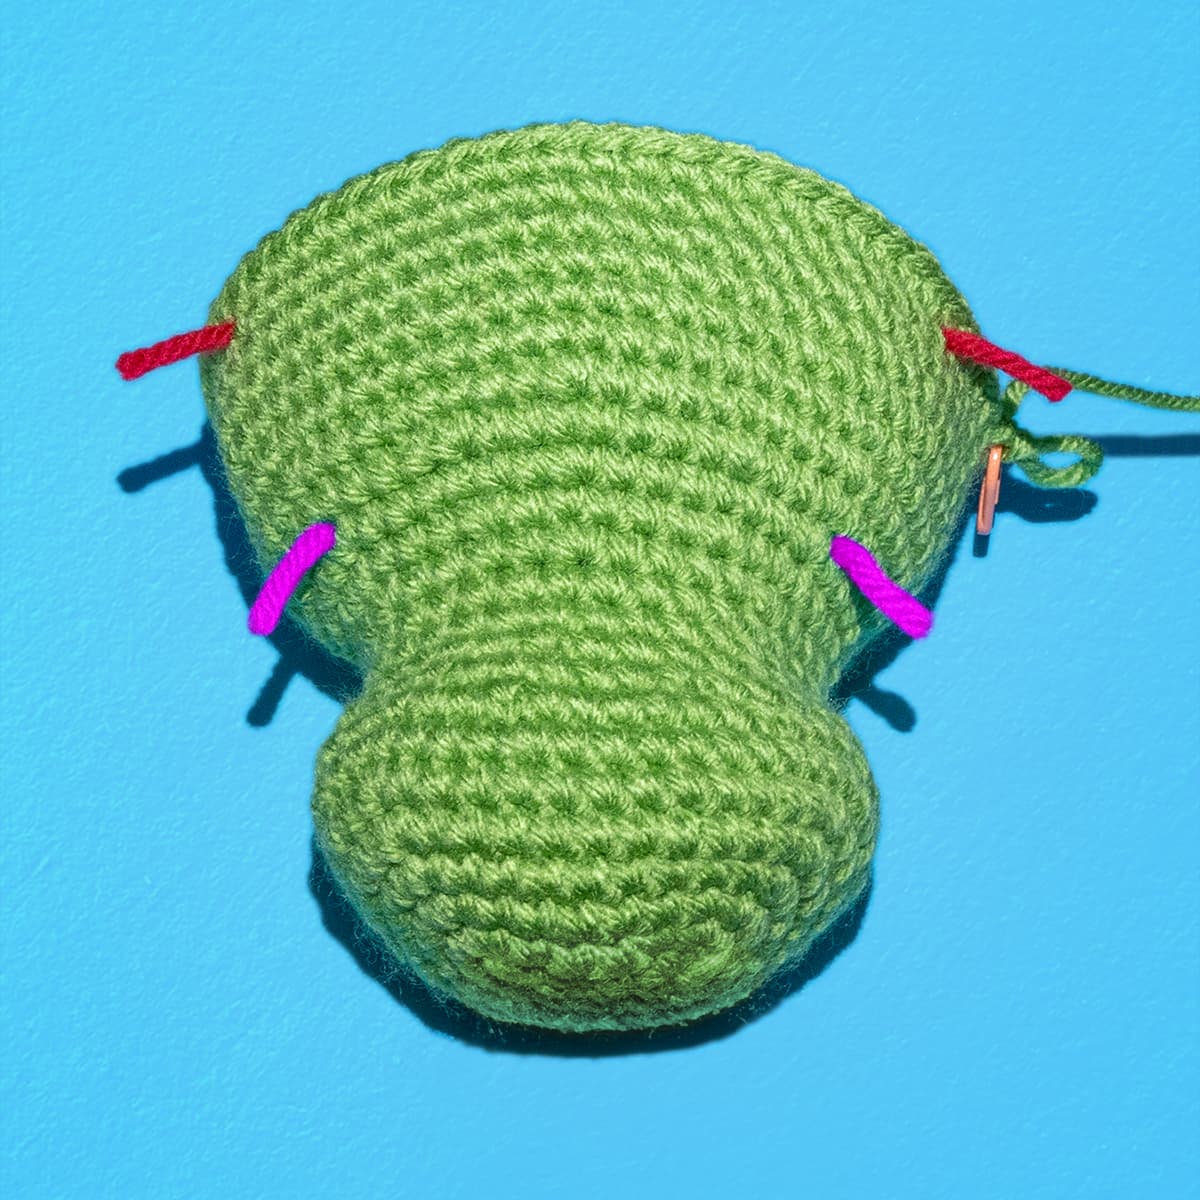
- Sew the ears to the head
- Add the nostrils to the head
- Crochet the arms
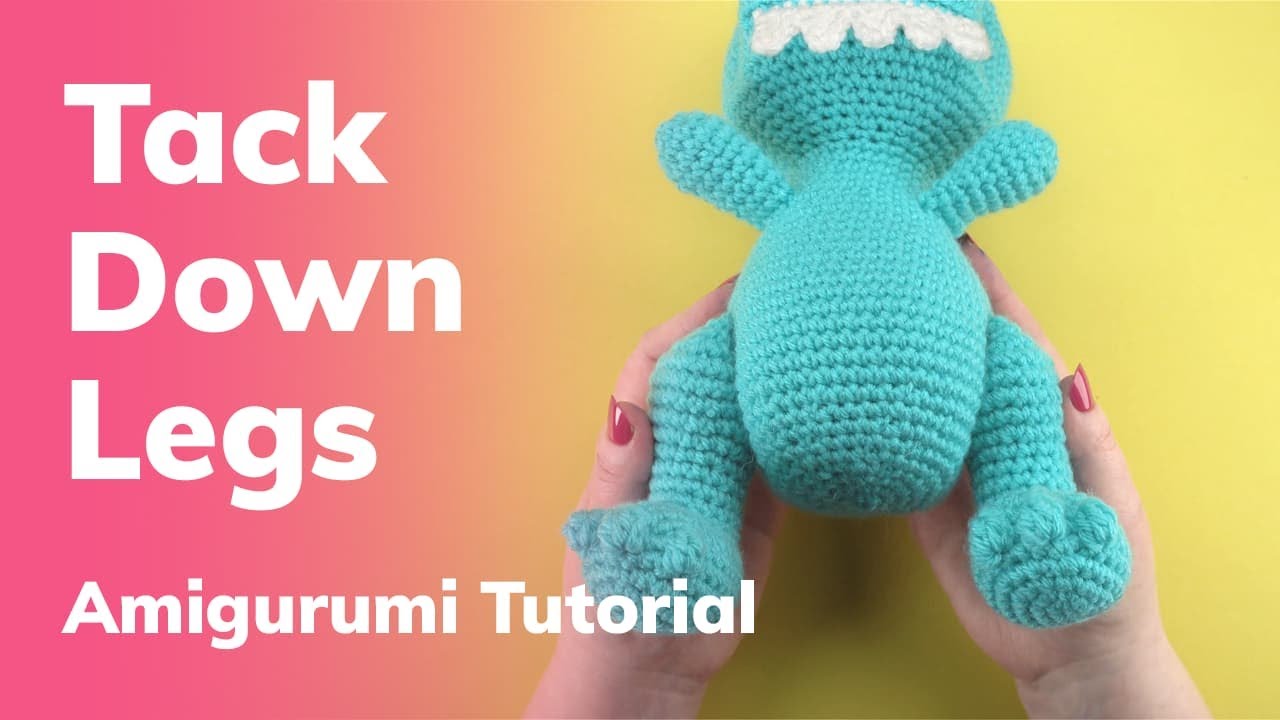
- Crochet the legs
- Crochet the body
- Sew the head to the body
- Crochet the tail
- Sew the tail to the body
- Crochet the belly
- Sew the belly to the body
- Crochet the spikes
- Sew the spikes to the body
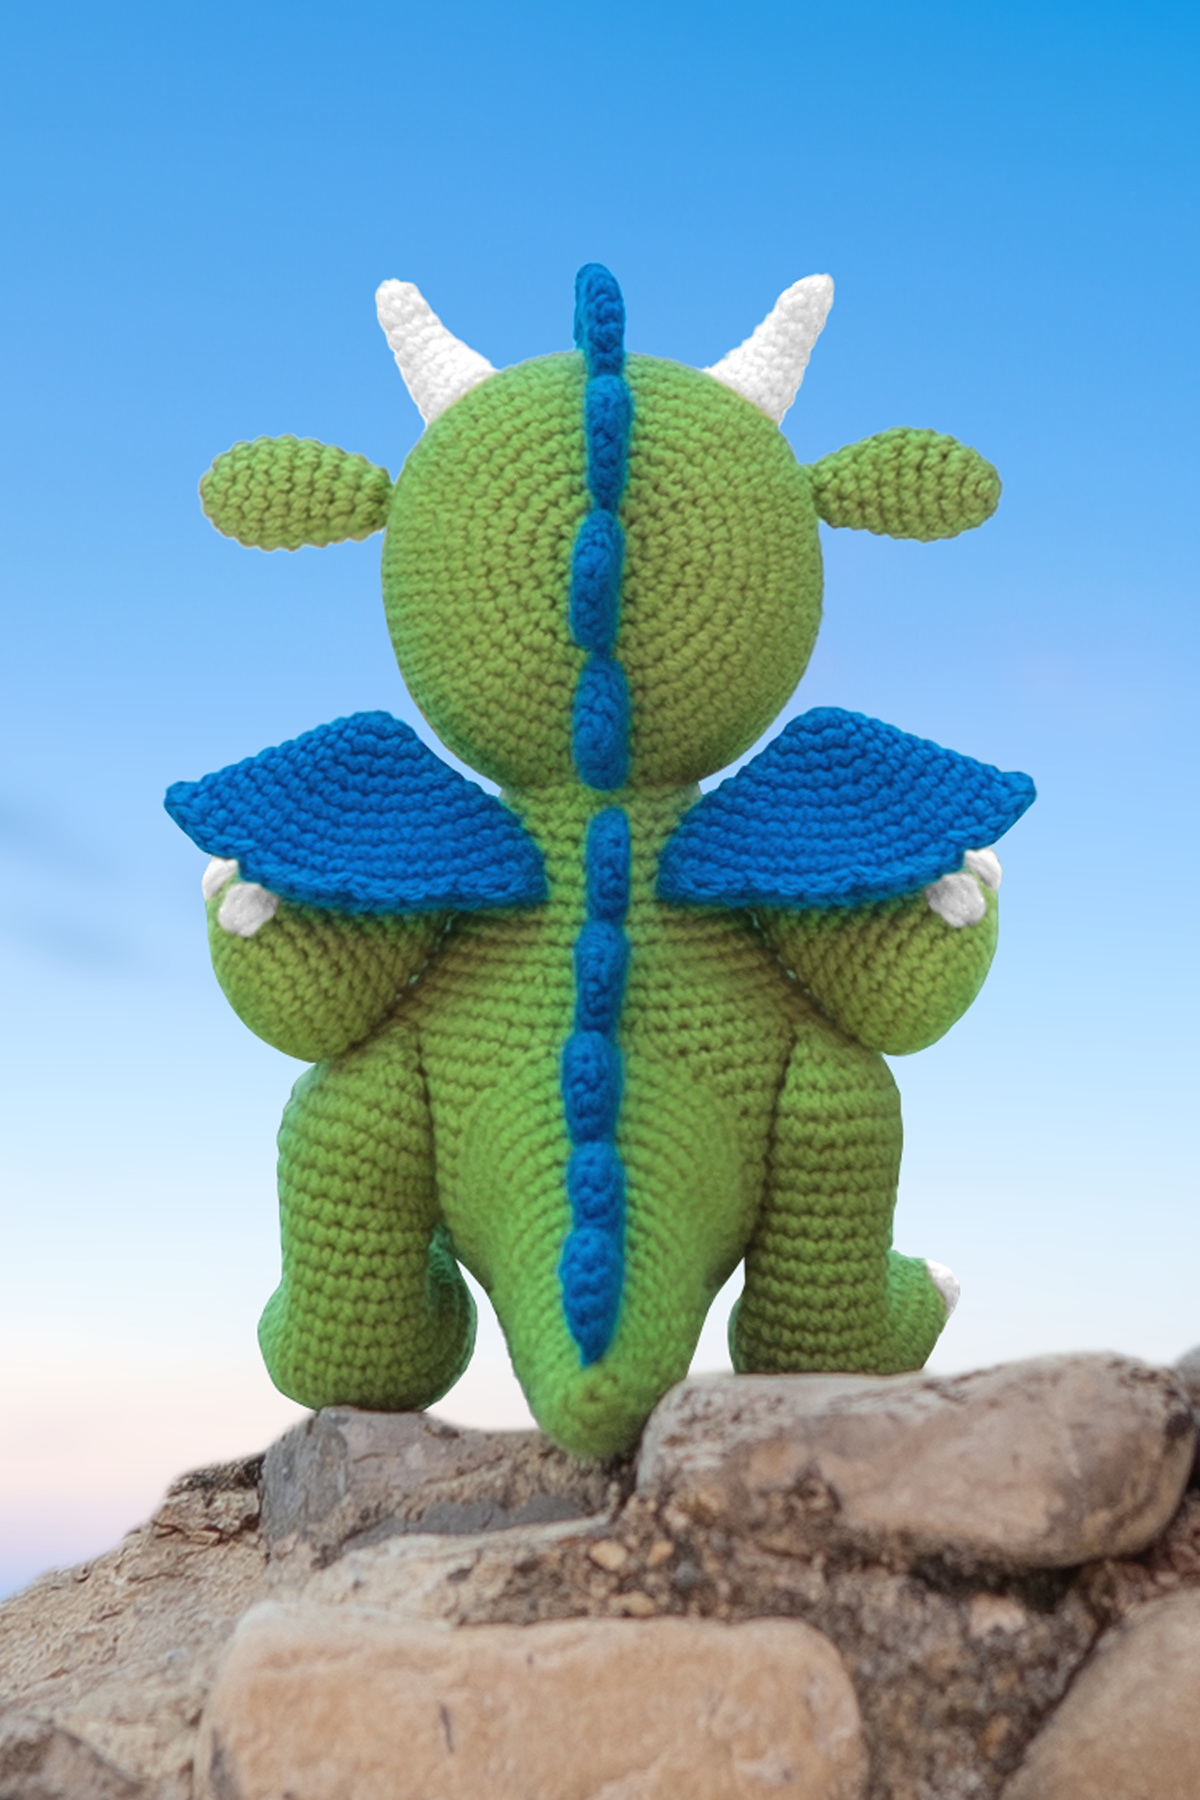
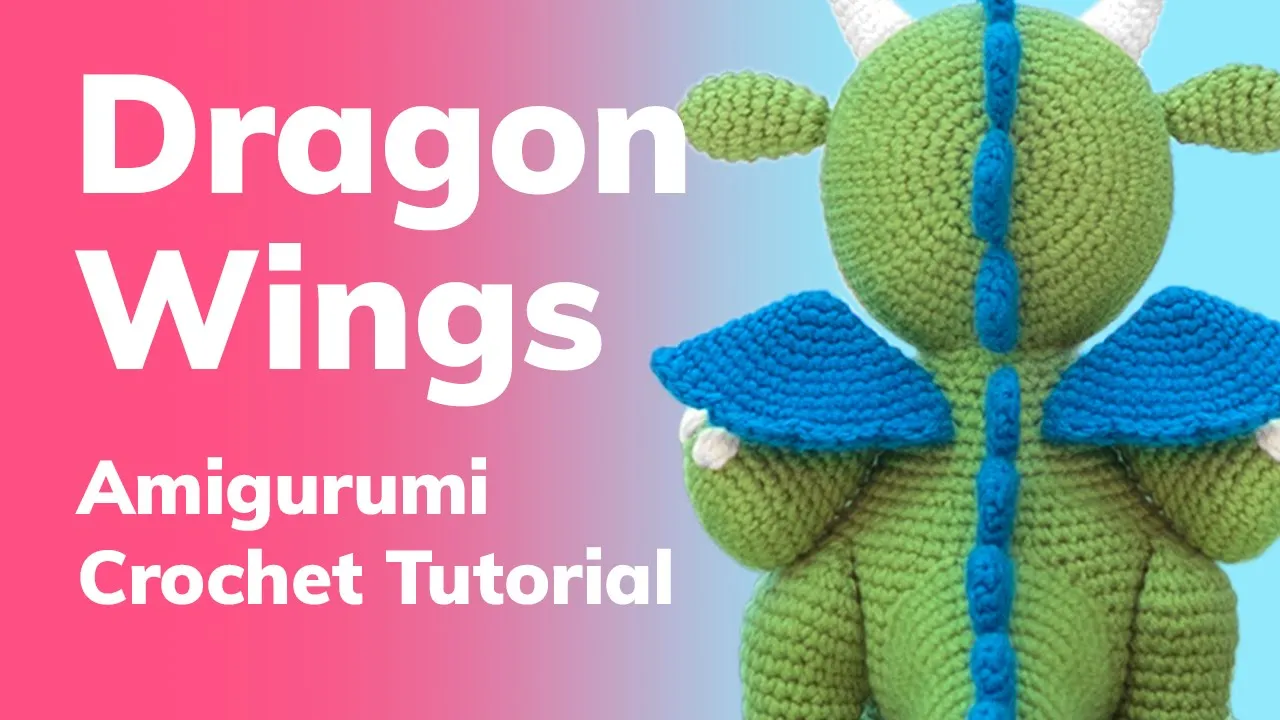
- Crochet the wings
- Sew the wings to the body
- Crochet the horns
- Sew the horns to the head
Instructions
To view a video tutorial, click the "Dragon Flames" image thumbnail on the pattern web page.
To view a video tutorial, click the "Dragon Flames" image thumbnail on the pattern web page.
Bottom Lip (optional)
To view a video tutorial, click the "Attaching Bottom Lip" image thumbnail on the pattern web page. The first part of the video covers how to fasten off and slip stitch closed. The bottom lip is now ready to attach as you crochet the head at a later step.
Ears (make 2)
With green yarn: 01. start 6 sc into a magic ring [6]02. *sc, inc* 3 times [9]03. sc, inc, *sc 2, inc* 2 times, sc [12]04. *sc 3, inc* 3 times [15]05. sc in each st around [15]06. *sc 3, dec* 3 times [12]07 – 09. sc in each st around [12] Fasten off, leaving an 18-inch yarn tail for sewing the ear to the head at a later step. Pinch the final round together and slip stitch closed. Prep the ear for attaching to the head by creating a round base (to view a video tutorial, watch the beginning of "How to Attach Ears" linked on the pattern web page): Your ear is now ready to attach to the head at a later step.
Head
Attaching the bottom lip and flames: The instructions for round 11 will depend on whether or not you want to include a bottom lip and flames. 11. sc in each st around [30] Bottom lip without crocheted-in flames: 11. sc 17, Attach the bottom lip: (sc 10), sc 3 [30] Bottom lip with crocheted-in flames: 11. sc 17, Start attaching the bottom lip: (sc 3), Attach the flames + bottom lip: (sc 4), Finish attaching the bottom lip: (sc 3), sc 3 [30] 12. sc in each st around [30]13. sc 2, inc, *sc 4, inc* 5 times, sc 2 [36]14. *sc 5, inc* 6 times [42]15. sc 3, inc, *sc 6, inc* 5 times, sc 3 [48]16. *sc 7, inc* 6 times [54]
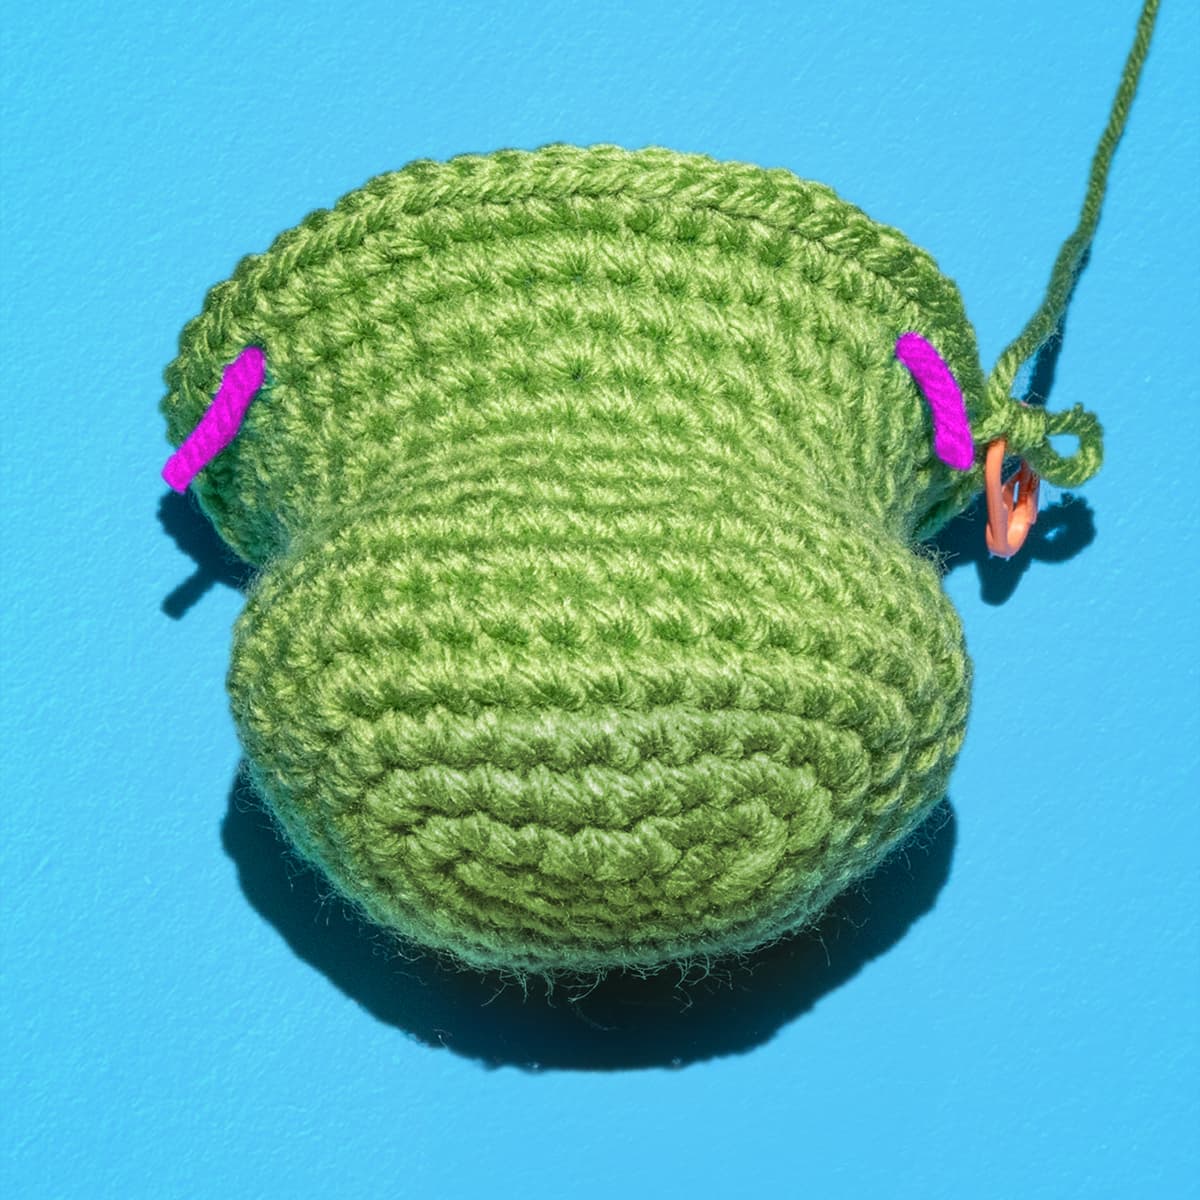
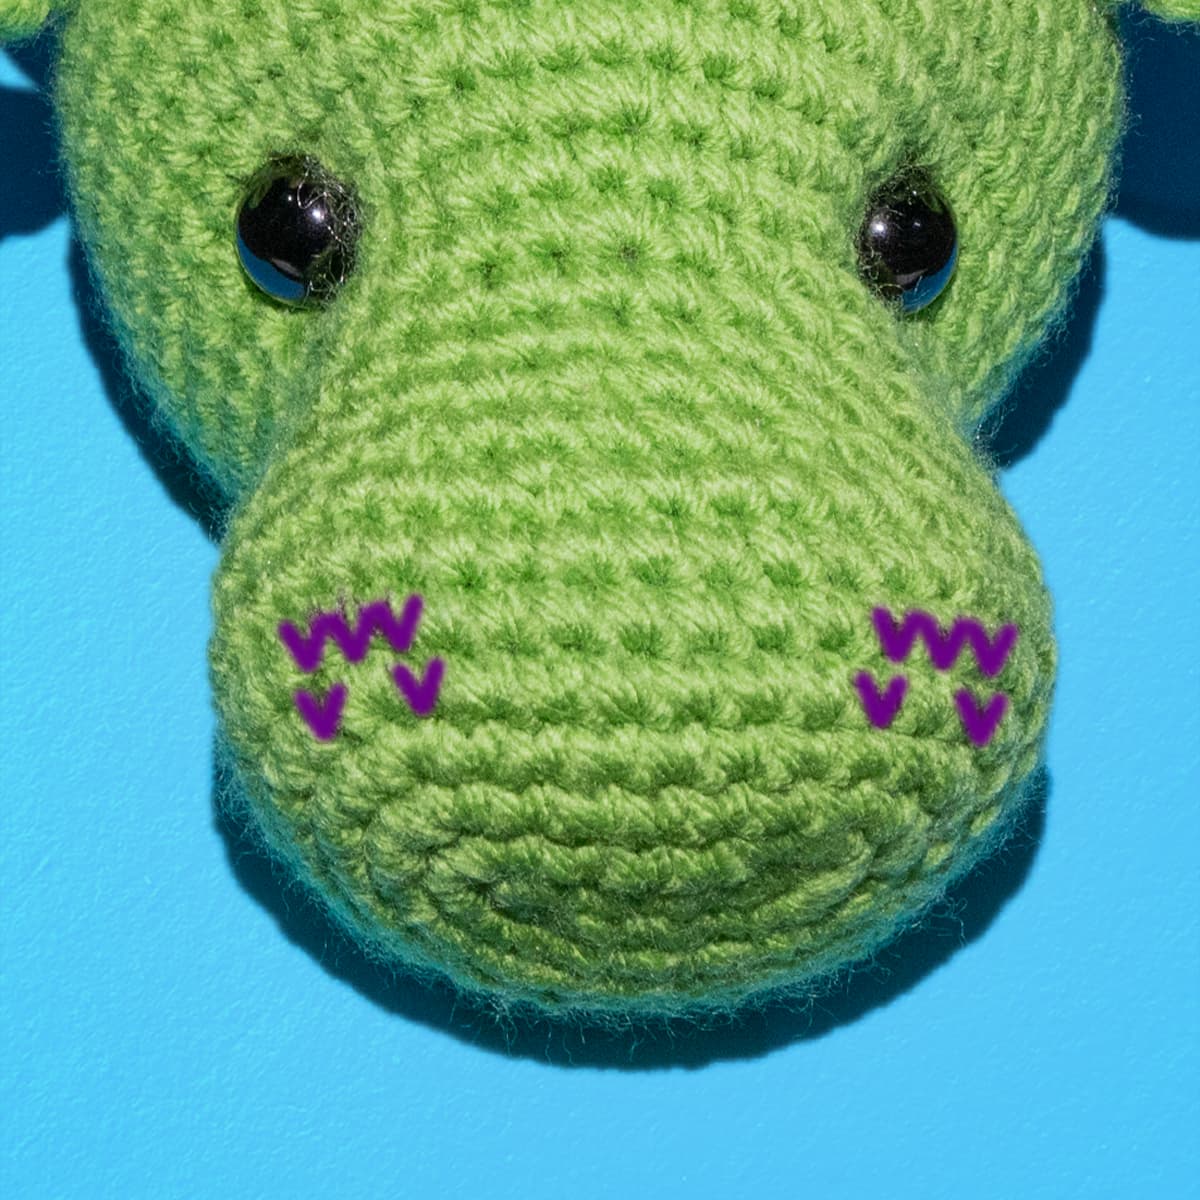
Nostrils (add 2)
- Using a disappearing ink marker, trace out two "U" shapes on the snout. To view a photo of the recommended placement, see Figure 3 in the Notes section of the pattern.
Arms (make 2)
Adding the claws: In the next round, we'll be adding claws. To view a video tutorial, see "How to Add Claws to Amigurumi" on the pattern web page.
Legs (make 2)
Adding the claws: In the next round, we'll be adding claws. To view a video tutorial, see "How to Add Claws to Amigurumi" on the pattern web page.
Body
Tail
Belly
Spikes (make 10)
Wings (make 2)
Horns (make 2)