In this tutorial I will show you how to attach a closed head to an open body when assembling an amigurumi animal using an invisible ink marker. I love this method and find it much easier than trying to use straight pins!
Tutorial: How to attach a closed head to an open body
In this tutorial I will show you how to attach a closed head to an open body when assembling an amigurumi animal using an invisible ink marker.
I love this method and find it much easier than trying to use straight pins!
I love this method and find it much easier than trying to use straight pins!
Supplies
Notes


 Step 1 – Find something circular that is roughly the same width as the opening of the body (I've found the bottom of a shot glass from Dollar Tree works perfectly!). Center it on the bottom of the head and trace around it with a disappearing ink marker (note that when you're done, you may have to rub the marks with a damp q-tip to get them to disappear completely).


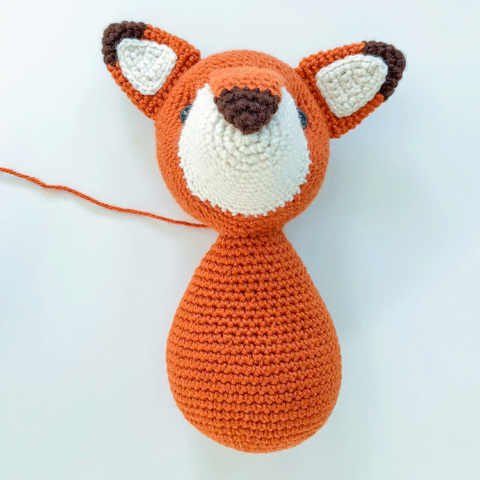
 Step 2 – Stitch around the outside of your marked stitches, leaving the last few stitches open.


 Step 3 – Tighten up your stitches around the head (but not too tight in case you need to undo them). Look at the project from all different angles and make sure the head looks centered and even on the body.
If so, add some additional stuffing to the opening in the neck (this will keep the head from wobbling), close up the remaining stitches, and make all the stitches around the head very tight.
Step 3 – Tighten up your stitches around the head (but not too tight in case you need to undo them). Look at the project from all different angles and make sure the head looks centered and even on the body.
If so, add some additional stuffing to the opening in the neck (this will keep the head from wobbling), close up the remaining stitches, and make all the stitches around the head very tight.

 Step 4 – Secure the last stitch with a knot. Use your yarn needle to hide the tail inside your work, then exit the needle elsewhere on the work, pull the yarn tail taut, and snip it right against the body (the tail should disappear inside the body).