I didn’t choose the yarn, the yarn chose me.
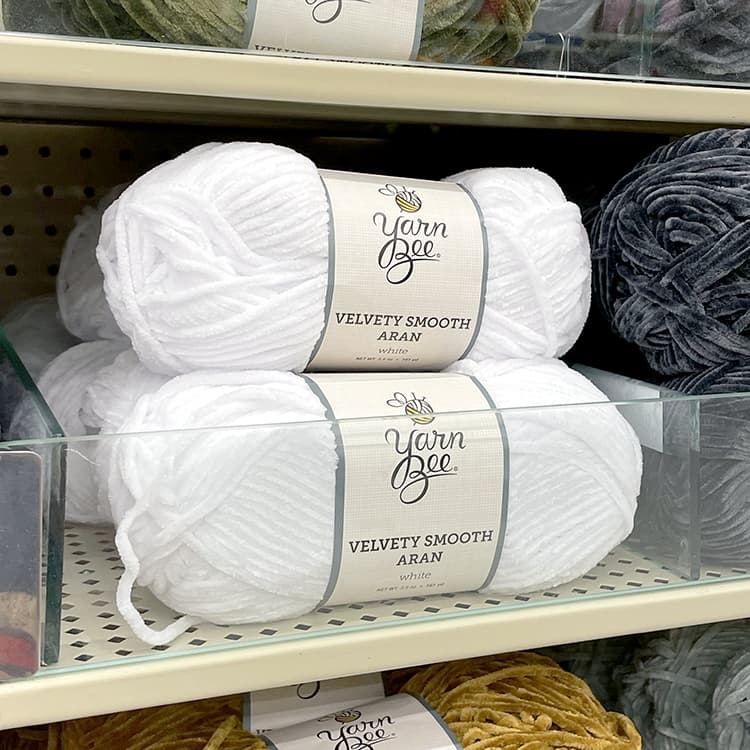
When I saw Yarn Bee Velvety Smooth Aran on the shelves during a recent Hobby Lobby run, it called to me.
It practically jumped into my basket and begged me to turn it into soft, snuggly sheep’s wool. Who am I to impede the dreams of a skein?
I brought it home and buried my fingers in the squishy, velvety yarn as I conceptualized my sheep crochet pattern.
A standard single crochet design would be fine, but something that gave the fleece extra fluffy, plushy dimension would be even better.
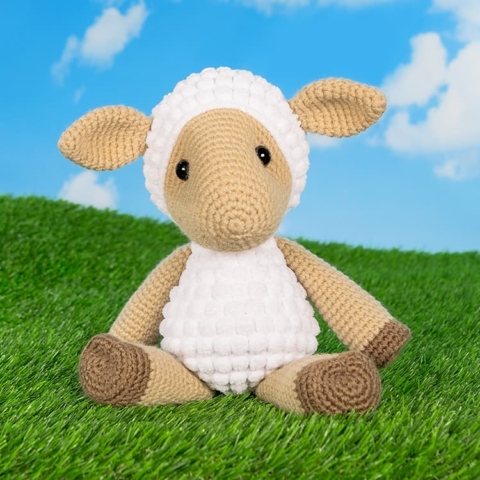
I started experimenting with the Bobble Stitch and fell in love.
I got exactly the look I was going for, though I learned a few lessons about designing with bobbles the hard way:
- There must be a single crochet between each bobble stitch. This helps the bobbles to “pop” and prevents overcrowding (more on this below).
- Join your rounds. At the end of a round, you will slst into the first stitch of the round to join, then chain 1 before starting the next round (you do not turn the work).If you try to do a standard continuous spiral as with most amigurumi, the bobbles end up staggered rather than stacked, and it creates gaps in the work.
- There must be a round of single crochets between each round of bobbles. Otherwise, the bobbles crowd each other and the work ends up too dense.
Designing with bobbles was a fun challenge.
For the sake of continuity, I wanted my sheep to have the same general dimensions as the rest of my farm animal crochet patterns.
After some quick calculations, I figured out that a bobble is roughly the same size as a 2×2 grid of standard single crochets. So for every bobble round, I’d subtract two rounds of single crochets.
To keep things easy, I avoided adding increases or decreases in bobble rounds, and simply doubled up the increases or decreases in the single crochet rounds.
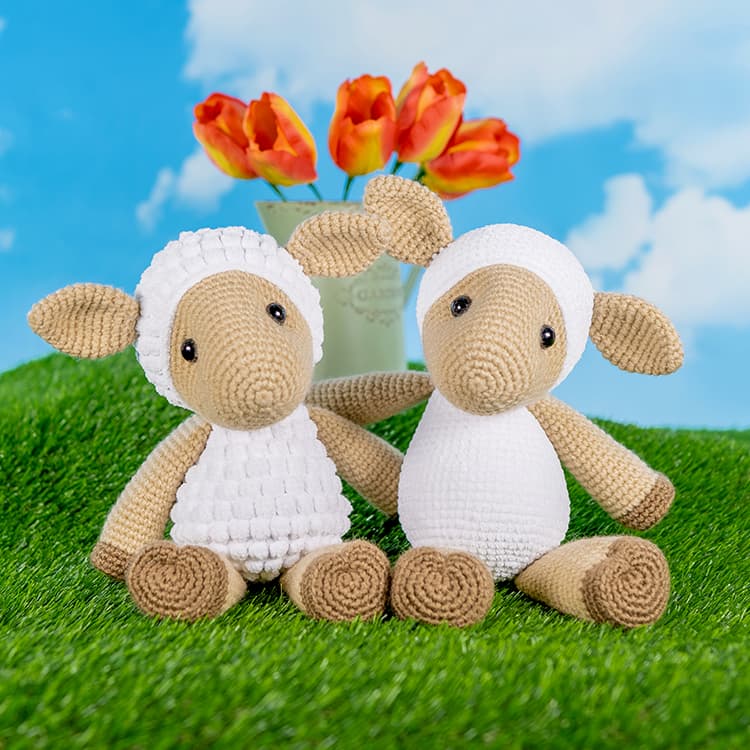
I was able to recreate my standard animal body shape using bobbles, and was thrilled with the final result!
I’ve included a step-by-step video tutorial, and single crochet version of the pattern.
Making this sheep can be tricky because of the bobble stitches. I want to set everyone up for success–even if you’re not a particularly experienced crocheter–so I created a Sage the Sheep video crochet along:

I’ll walk you through making your sheep from start to finish. If you get stuck at any point while following the written pattern, be sure to check out the videos. It can really help!
If you attempt the bobble rounds and end up throwing your work across the room in frustration, don’t worry; I’ve included a single crochet version of this pattern as well. You can still make an adorable sheep without the fuss of bobbles.
Can’t find velvet yarn? No worries.
It’s important to me that the materials required to make my patterns are accessible and affordable for everyone.
I’ve heard how hard it can be to track down specialty yarns in some parts of the world, so I make sure all of my patterns can be made with inexpensive acrylic yarn that can be found at any craft store. Ol’ reliable Red Heart will work just as well.


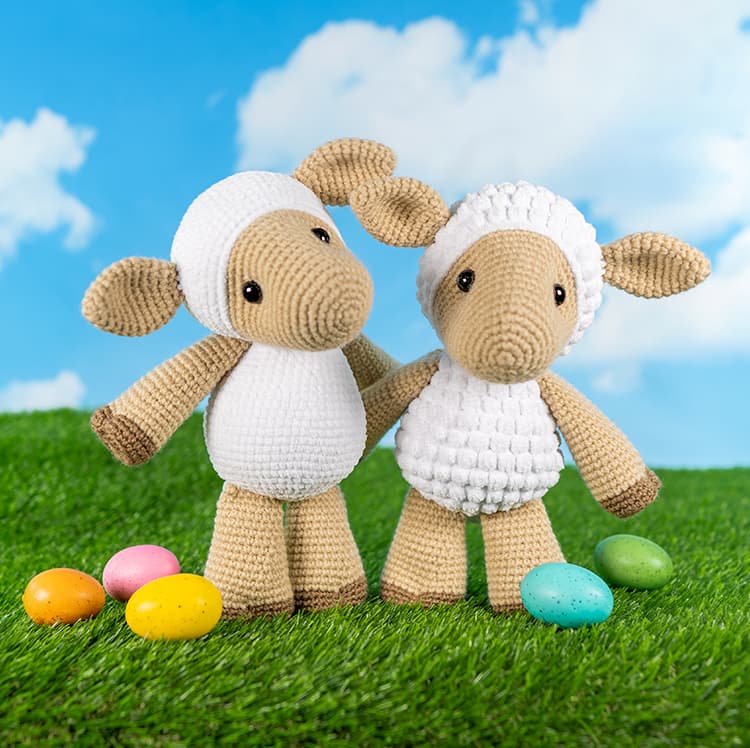
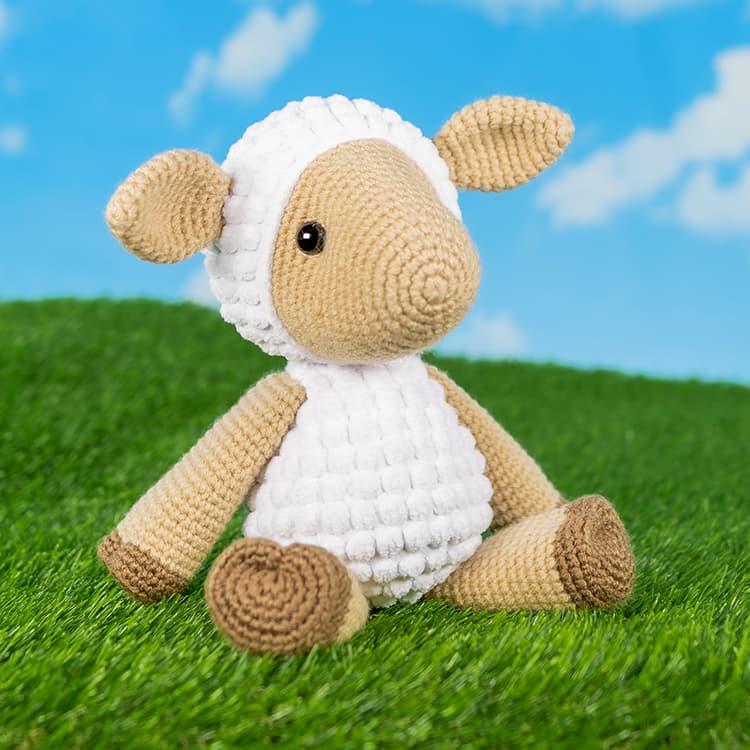


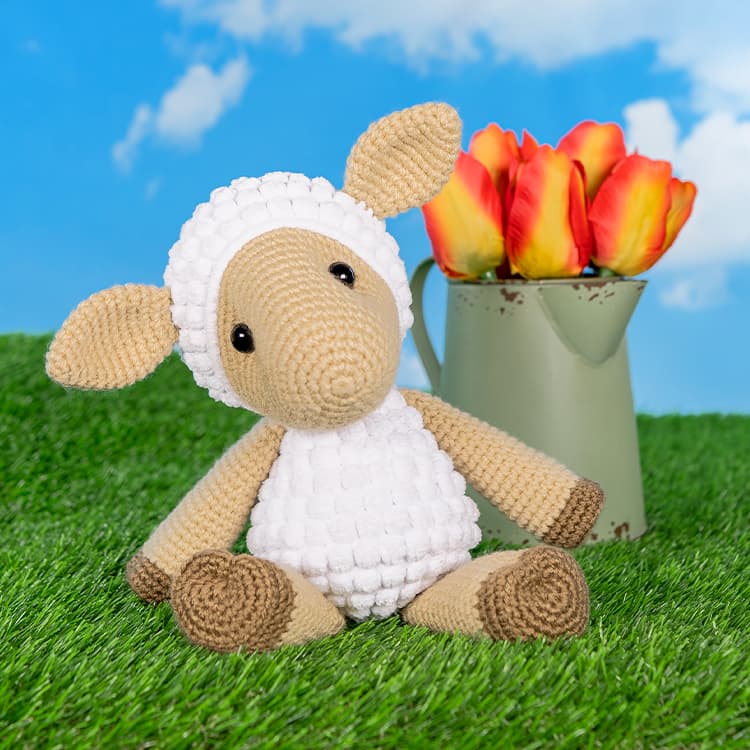
Sage the Sheep – Bobble Version
Skill level: Intermediate
Ravelry: Sage the SheepSage is very soft and cuddly, with an adorable sheepish grin. She can be rather 'baaa'shful, but will always be there for ewe!
Supplies
Yarn (acrylic, weight 4) – 342 total yards
- Tan – 113 yards (I used Red Heart Super Saver – Buff)
- White – 200 yards (I used Yarn Bee Velvety Smooth Aran – White)
- Brown – 29 yards (I used Red Heart Super Saver – Cafe Latte)
Notes
- ch – chain
- sc – single crochet
- bobble – 4 incomplete double crochets worked in the same st, then yarn over and pull through all 5 loops on your hook.
- inc – complete two single crochets within the same stitch
- dec – combine two stitches into one with an invisible decrease
- BLO – crochet in the back loop only
- *sc x* – repeat the instructions between asterisks(*) the indicated number of times. If the pattern doesn’t tell you how many times to repeat, then repeat the sequence until you reach the end of the round.
General Instructions
- Work all stitches in both loops unless the pattern instructs otherwise.
- The single crochet portions of this pattern are worked in one continuous spiral. Do not join rounds unless the pattern indicates otherwise (in other words, do not slip stitch and chain to start a new round).
- The bobble portions of this pattern are worked in joined rounds. At the end of the round, slip stitch into the first stitch of the round. Chain 1 before beginning a new round.
- The stitch count at the end of each bobble round does not include the slip stitch/chain 1.
- Use a stitch marker to keep track of where one round ends and the next begins.
- For single crochet rounds, I prefer to place my stitch marker in the last stitch of the round.
- For bobble rounds, I prefer to place a stitch marker in both the first stitch of the round and in the last stitch of the round. That way I don’t accidentally crochet into the slst or ch 1 of the previous round.
Making Bobbles “Pop”
Make sure the single crochets between your bobbles are nice and tight. Pull on your working yarn after completing the single crochet to help accomplish this. Making tight single crochets between bobbles eliminates gaps and makes your bobbles “pop.”
Recommended Sequence
Here are the steps to create your sheep, in order:
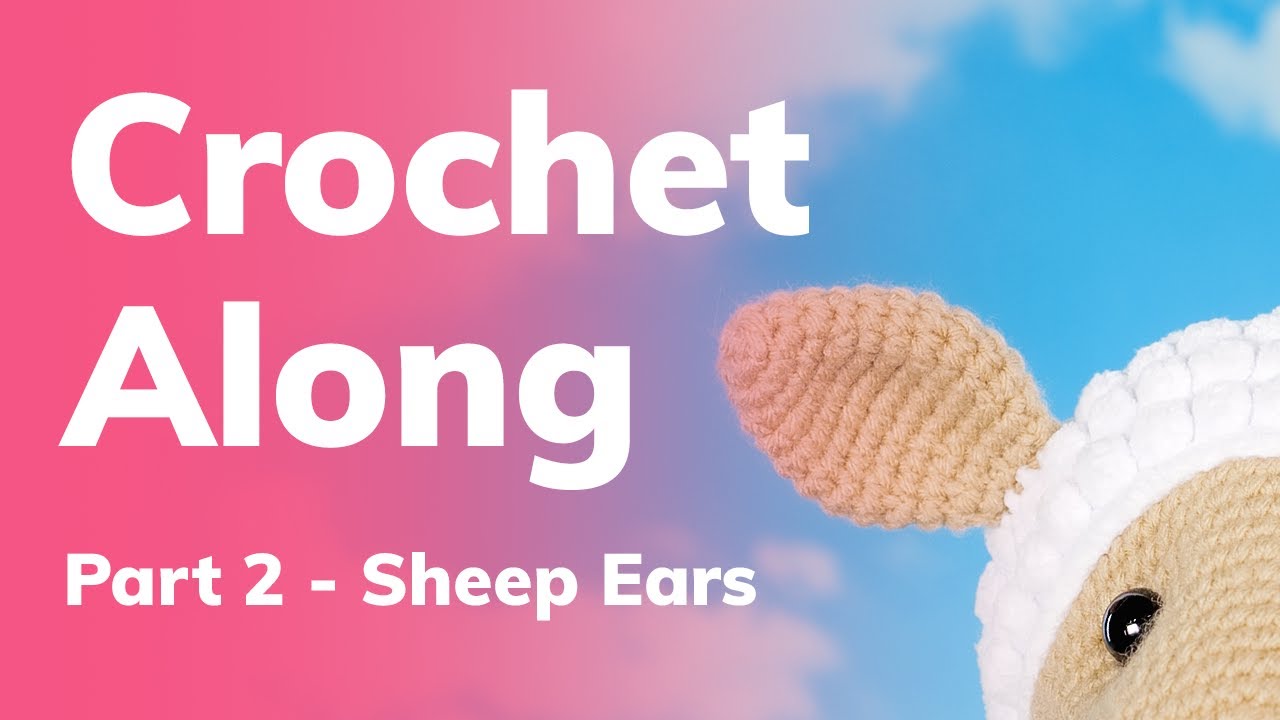
- Crochet the Ears
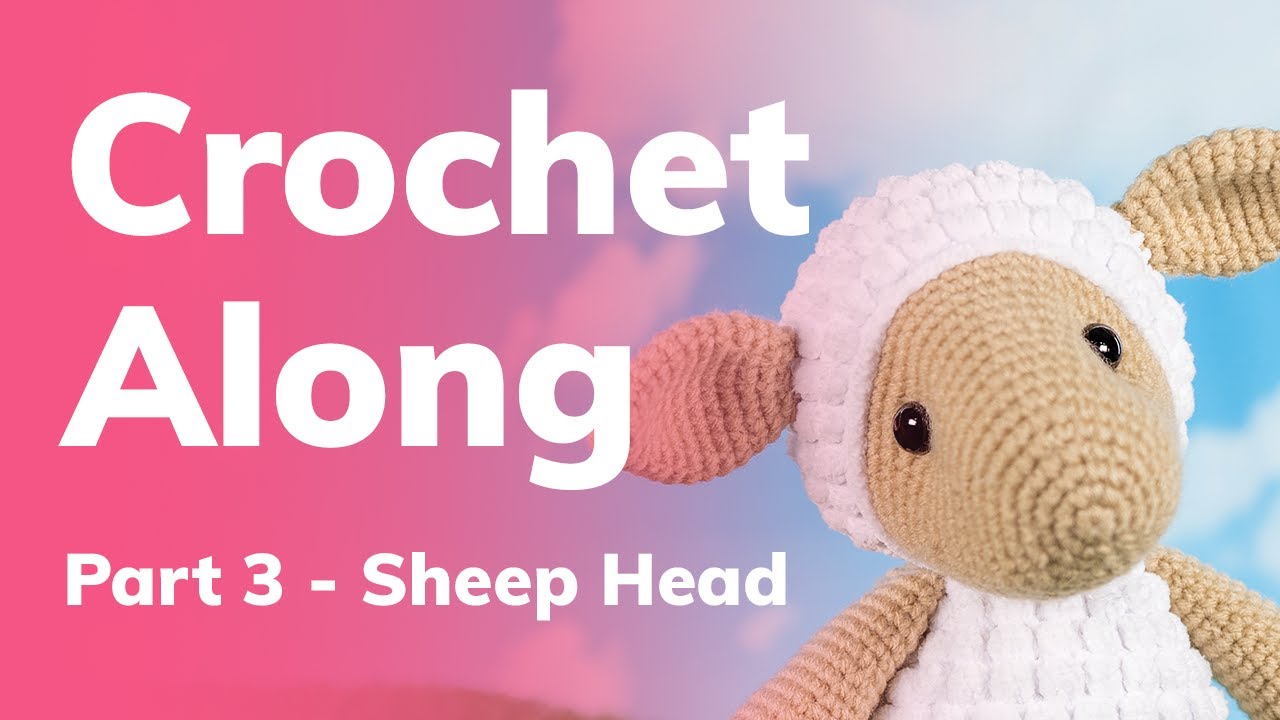
- Crochet the Head
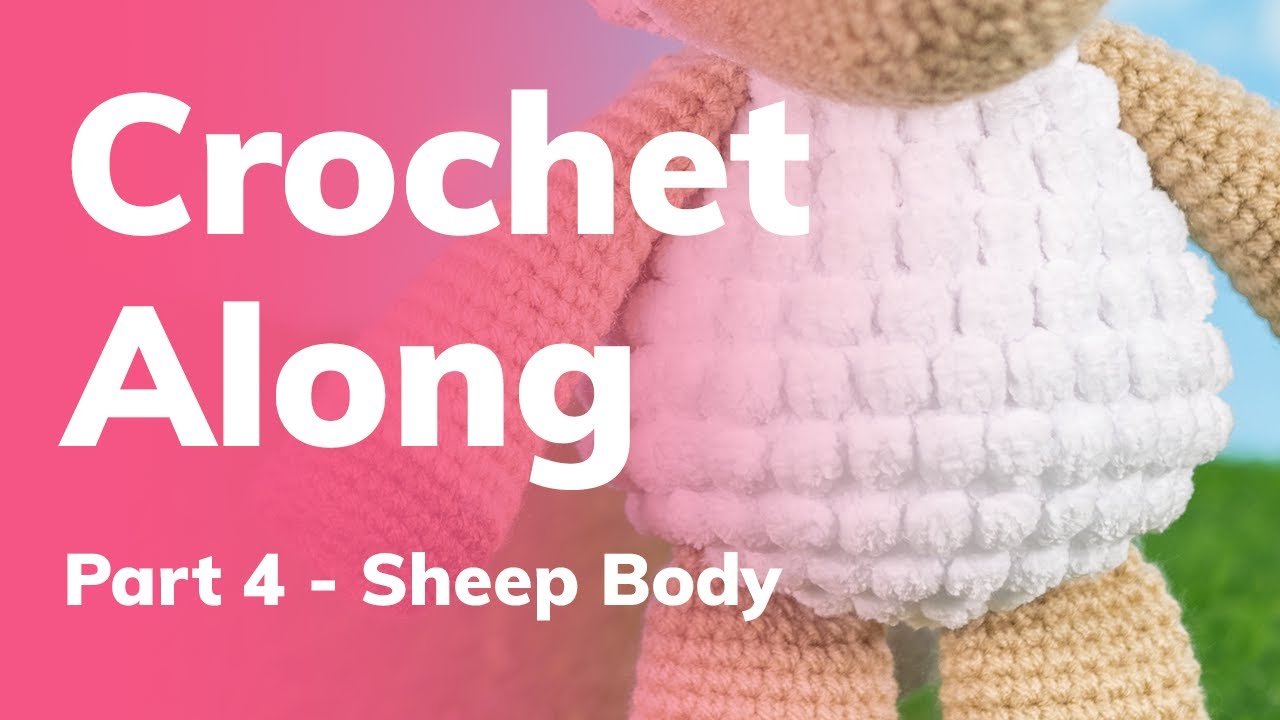
- Crochet the Body
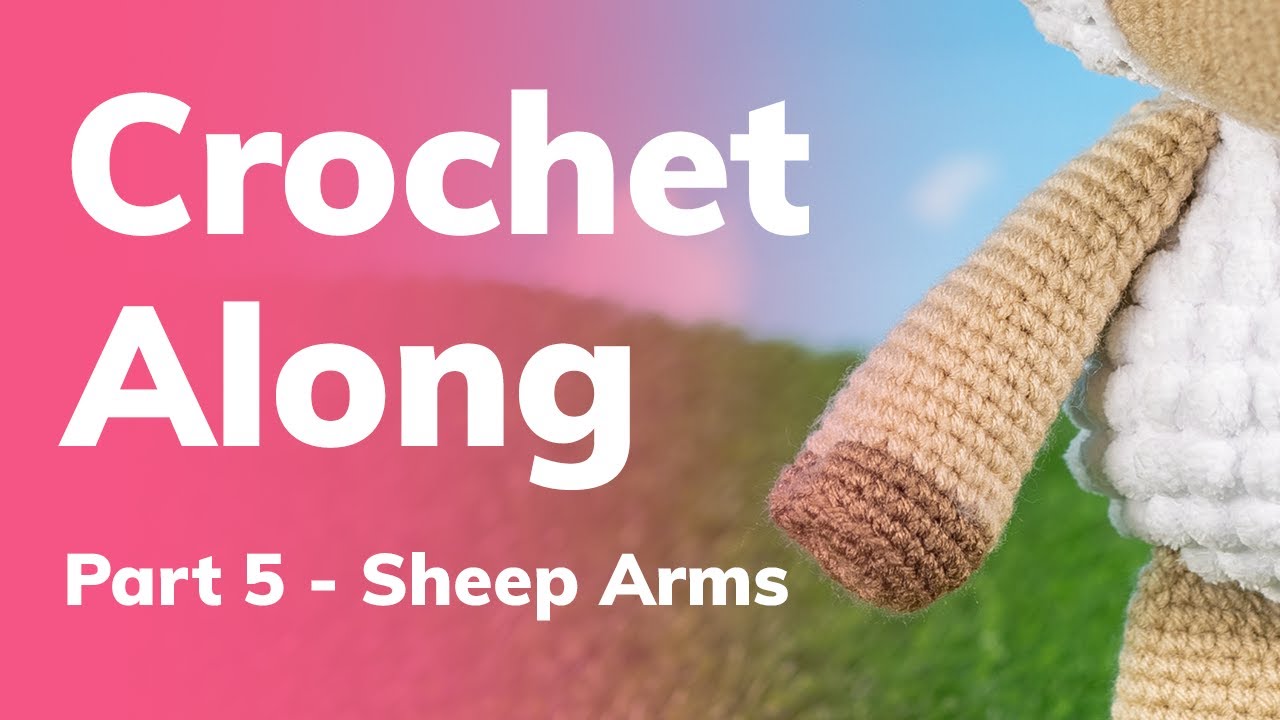
- Crochet the Arms
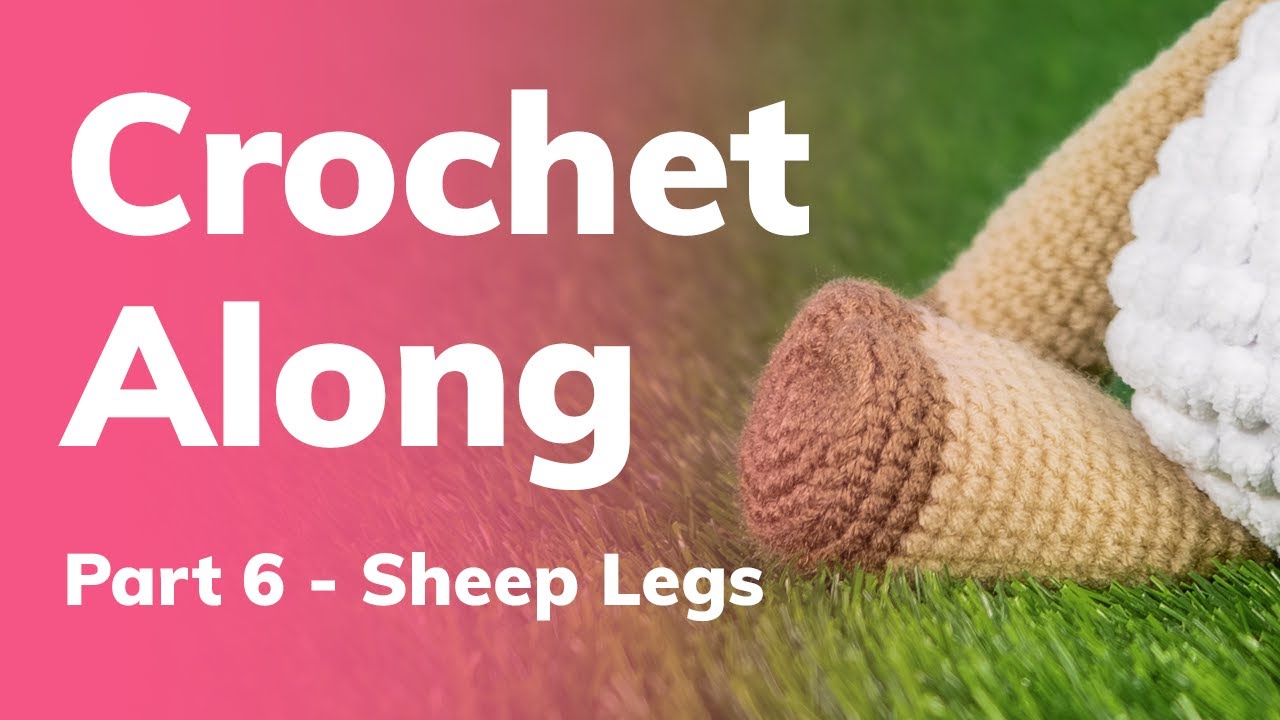
- Crochet the Legs
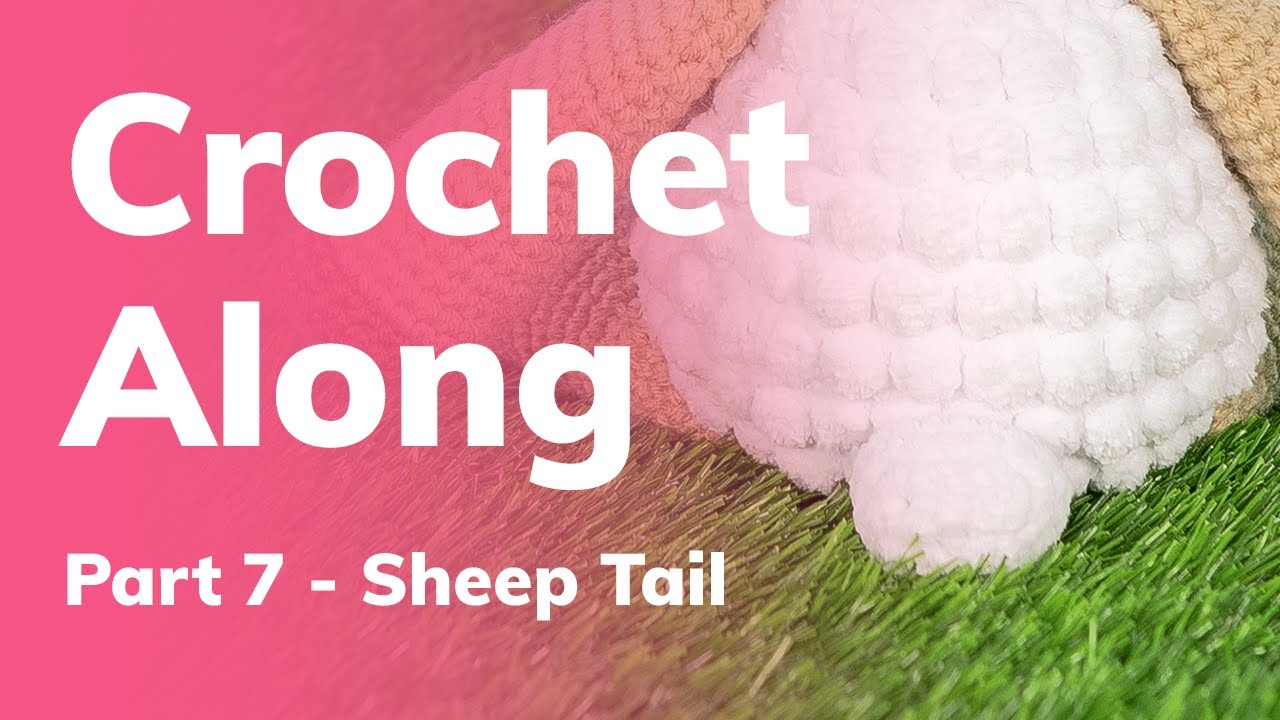
- Crochet the Tail
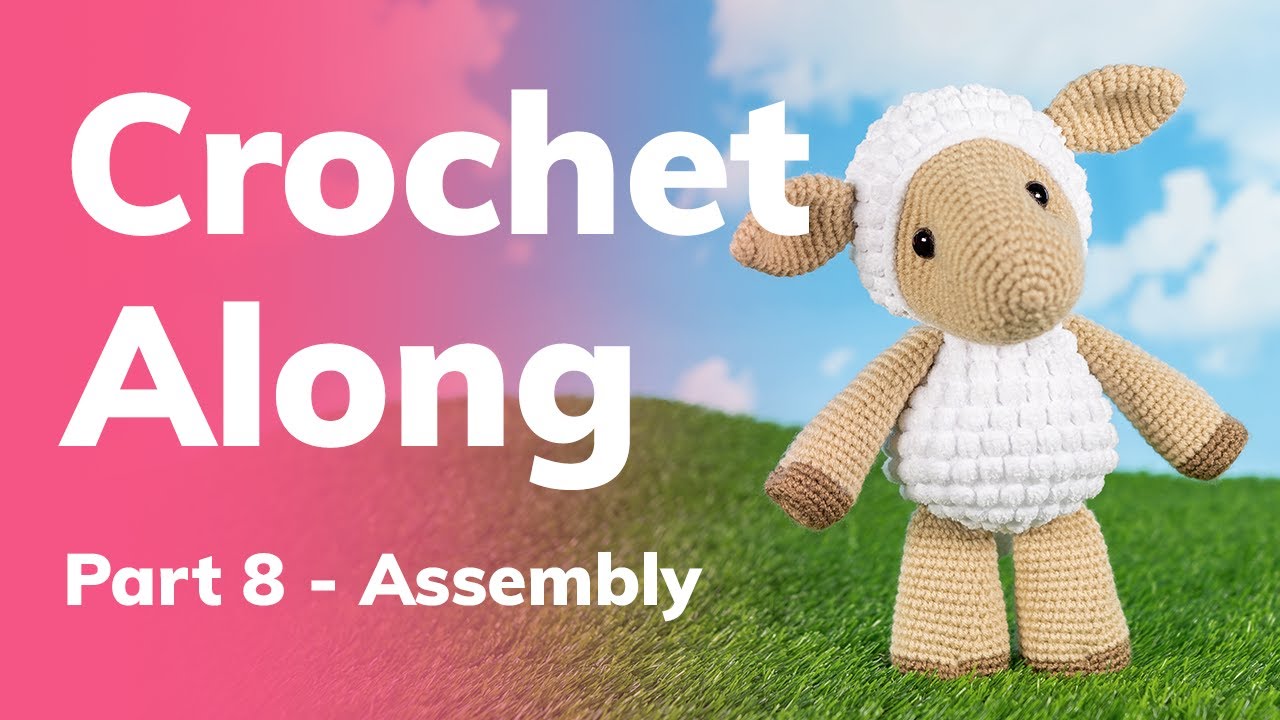
- Attach the Head to the Body
- Attach the Legs to the Body
- Attach the Arms to the Body
- Attach the Tail to the Body
Sage the Sheep Video Crochet Along on YouTube

Head: Round 15 – Marking Stitches for the Eyes

Head: Round 22 – Marking Stitches for the Ears

Head: Round 23 – Crochet Ears to Head
Stuff Head & Add Safety Eyes
How to Make Cloven Hooves
Instructions
Ears (make 2)
Head
01. start 6 sc into a magic ring [6]02. inc in each st around [12]03. *sc, inc* 6 times [18]04. sc, inc, *sc 2, inc* 5 times, sc [24]05. *sc 3, inc* 6 times [30]06. sc 2, inc, *sc 4, inc* 5 times, sc 2 [36]07 – 08. sc in each st around [36]09. *sc 5, inc* 6 times [42]10 – 11. sc in each st around [42]12. sc 3, inc, *sc 6, inc* 5 times, sc 3 [48]13 – 14. sc in each st around [48]15. *sc 7, inc* 6 times [54] Switch back to 3.5mm hook:19. BLO: sc in each st around, slst to join [54]20. ch 1, *sc, bobble* 27 times, slst to join [54]
Adding a Border on the Face
- Now we’ll be adding a border of single crochets around the face, working into the exposed front loops from round 19 of the head. This border helps create the illusion that the wool is sitting “on top” of the sheep’s skin.
Body
Arms (make 2)
To prep the arm to attach at a later step, see "How to Make Cloven Hooves" in the Notes section of the pattern.
Legs (make 2)
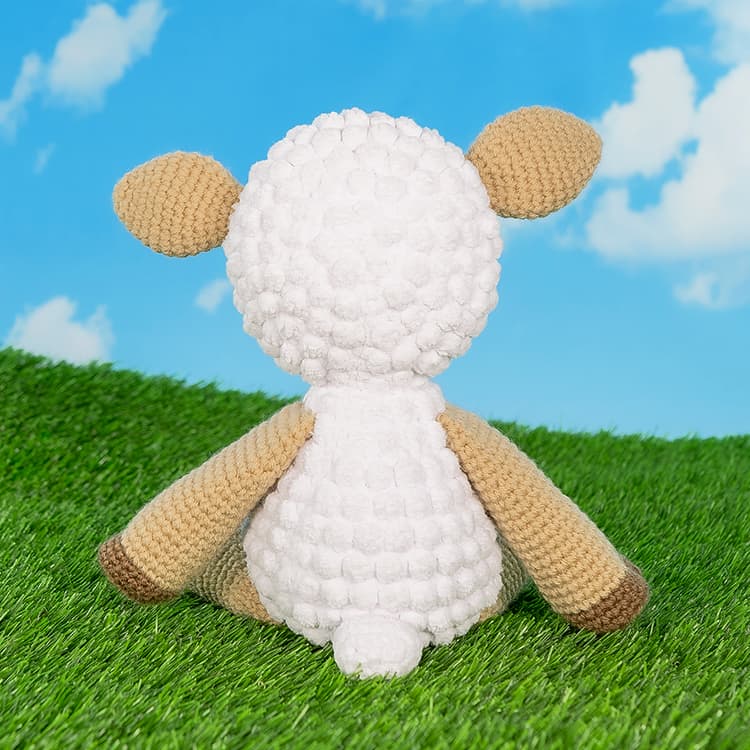
Tail
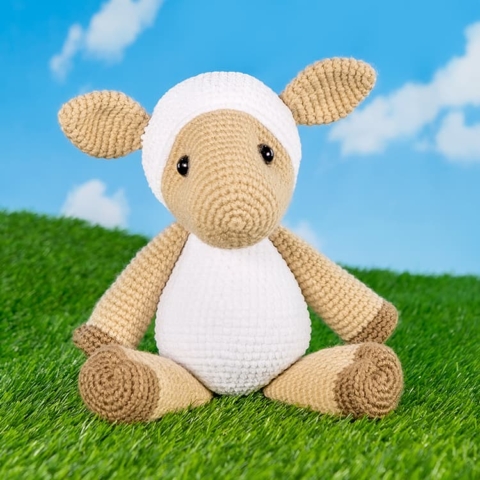
Sage the Sheep – Single Crochet Version
Skill level: Intermediate
Ravelry: Sage the SheepSage is very soft and cuddly, with an adorable sheepish grin. She can be rather 'baaa'shful, but will always be there for ewe!
Supplies
Yarn (acrylic, weight 4) – 254 total yards
- Tan – 113 yards (I used Red Heart Super Saver – Buff)
- White – 112 yards (I used Yarn Bee Velvety Smooth Aran – White)
- Brown – 29 yards (I used Red Heart Super Saver – Cafe Latte)
Notes
- ch – chain
- sc – single crochet
- inc – complete two single crochets within the same stitch
- dec – combine two stitches into one with an invisible decrease
- BLO – crochet in the back loop only
- *sc x* – repeat the instructions between asterisks(*) the indicated number of times. If the pattern doesn’t tell you how many times to repeat, then repeat the sequence until you reach the end of the round.
General Instructions
- Work all stitches in both loops unless the pattern instructs otherwise.
- This pattern is worked in one continuous spiral. Do not join rounds unless the pattern indicates otherwise (in other words, do not slip stitch and chain to start a new round).
- Use a stitch marker to keep track of where one round ends and the next begins. I prefer to place my stitch marker in the last stitch of the round.
Recommended Sequence
Here are the steps to create your sheep, in order:
- Crochet the Ears
- Crochet the Head
- Crochet the Body
- Crochet the Arms
- Crochet the Legs
- Crochet the Tail
- Attach the Head to the Body
- Attach the Legs to the Body
- Attach the Arms to the Body
- Attach the Tail to the Body
Crochet Video Tutorials
Assembly Tutorials
- How to attach the head to the body
- How to attach the legs to the body
- How to attach the arms to the body
- How to attach the tail to the body
Head: Round 15 – Marking Stitches for the Eyes
Head: Round 24 – Marking Stitches for the Ears

Head: Round 25 – Crochet Ears to Head
How to Indent the Eyes
How to Make Cloven Hooves
Instructions
Ears (make 2)
Head
01. start 6 sc into a magic ring [6]02. inc in each st around [12]03. *sc, inc* 6 times [18]04. sc, inc, *sc 2, inc* 5 times, sc [24]05. *sc 3, inc* 6 times [30]06. sc 2, inc, *sc 4, inc* 5 times, sc 2 [36]07 – 08. sc in each st around [36]09. *sc 5, inc* 6 times [42]10 – 11. sc in each st around [42]12. sc 3, inc, *sc 6, inc* 5 times, sc 3 [48]13 – 14. sc in each st around [48]15. *sc 7, inc* 6 times [54] Marking Stitches for the Ears: You are now going to mark 4 stitches in round 24 (the round you just completed) to show where you should attach the ears in round 25.
Adding a Border on the Face
- Now we’ll be adding a border of single crochets around the face, working into the exposed front loops from round 19 of the head. This border helps create the illusion that the wool is sitting “on top” of the sheep’s skin.
With white yarn: 01. Single crochet in each exposed loop around [54] End with an Invisible Finish, and secure with a knot. Hide the tail inside the work.
Body
Fasten off and leave a tail the length of your arm span (roughly 5+ feet) for sewing. Stuff with fiber fill.
Arms (make 2)
Legs (make 2)
Tail